ByElijah LucasMarch 28, 2025Windows 10 Privacy Settings to Disable Tracking Learn how to disable tracking in Windows 10 privacy settings step by step. This detailed guide covers general, location, app permissions, diagnostics, and activity history.Editorials
ByJames OliverMarch 6, 2025how to upgrade from windows 10 to windows 11 for free Windows 11 is Microsoft’s latest operating system, bringing a fresh design, improved performance, and enhanced security features. If…Software
ByElijah LucasMarch 3, 2025How to Change Dark Mode in Windows 11 Dark mode has become a popular feature among Windows users, offering a sleek, eye-friendly interface that reduces eye…Software
ByElijah LucasJanuary 22, 2025How to Install Linux in Windows If you’re looking to enhance your computing experience or explore the world of open-source software, installing Linux alongside…SoftwareTech
ByNitin AgarwalApril 11, 2022How to Remove Bloatware From Your Xiaomi Device TeamWin Recovery Project or prominently known as TWRP, is a GUI-based custom recovery. It is open-source, actually. You…Tech
ByBenjamin NoahMarch 4, 2022Top Bitcoin-Earning Apps A review of the top bitcoin-earning apps. If you are looking to put your phone to work for…Software
ByBenjamin NoahJanuary 21, 20229 Best Apple Watch Games Worth Your Attention Apple watches are not only used for keep tracking on regular activities but also they are used to…Tech
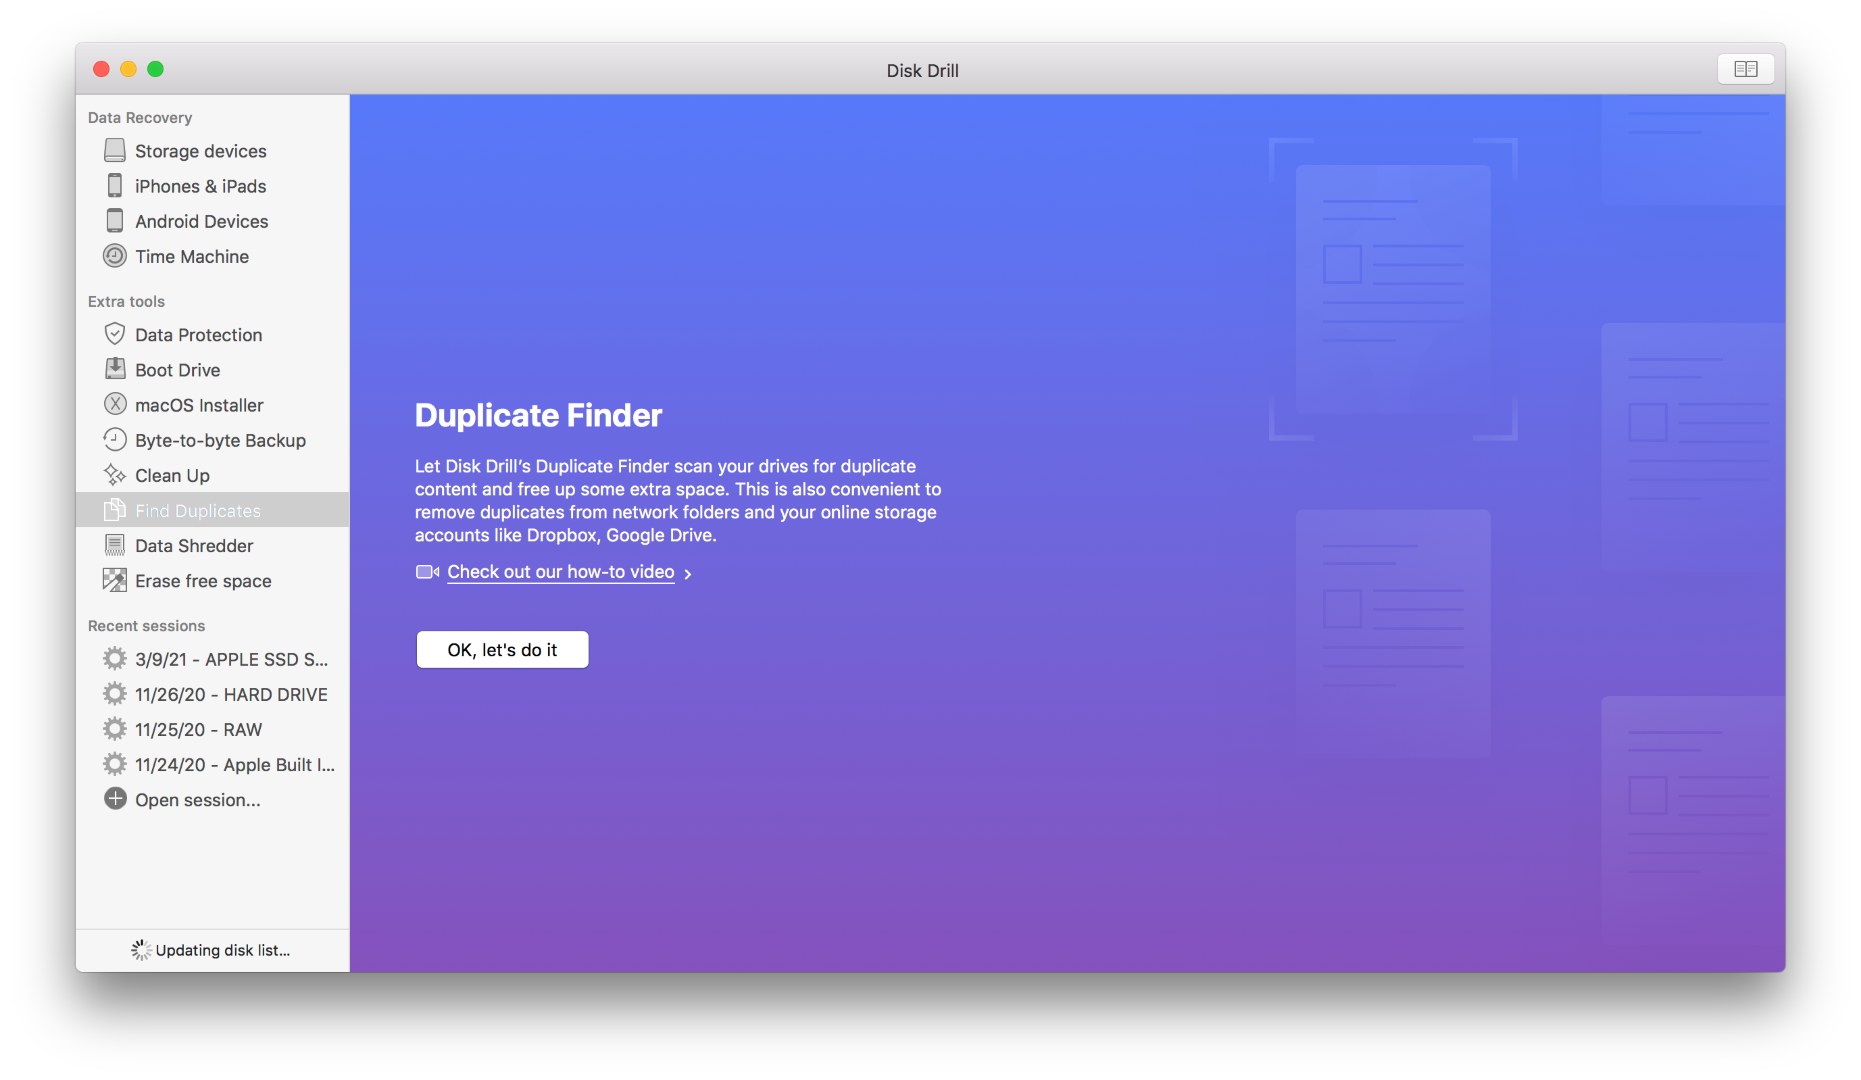
ByElijah LucasJanuary 21, 20225 Best Duplicate Photo Finder and Cleaner Tools for Mac 2019 Are you wondering why your PC is so full of space and is barely left with any? Don’t…Tech
ByJames OliverJanuary 21, 2022Great E Book Reader Apps for Android Books are the best ways one can utilize their free time most efficiently. E books should be selected…Tech
ByWilliam JohnsonJanuary 21, 20225 Best Photo Noise Reduction Software for Photography Lovers Who doesn’t love Noise reduction when it comes to photos. Especially when it is about Photography lovers, and…Tech
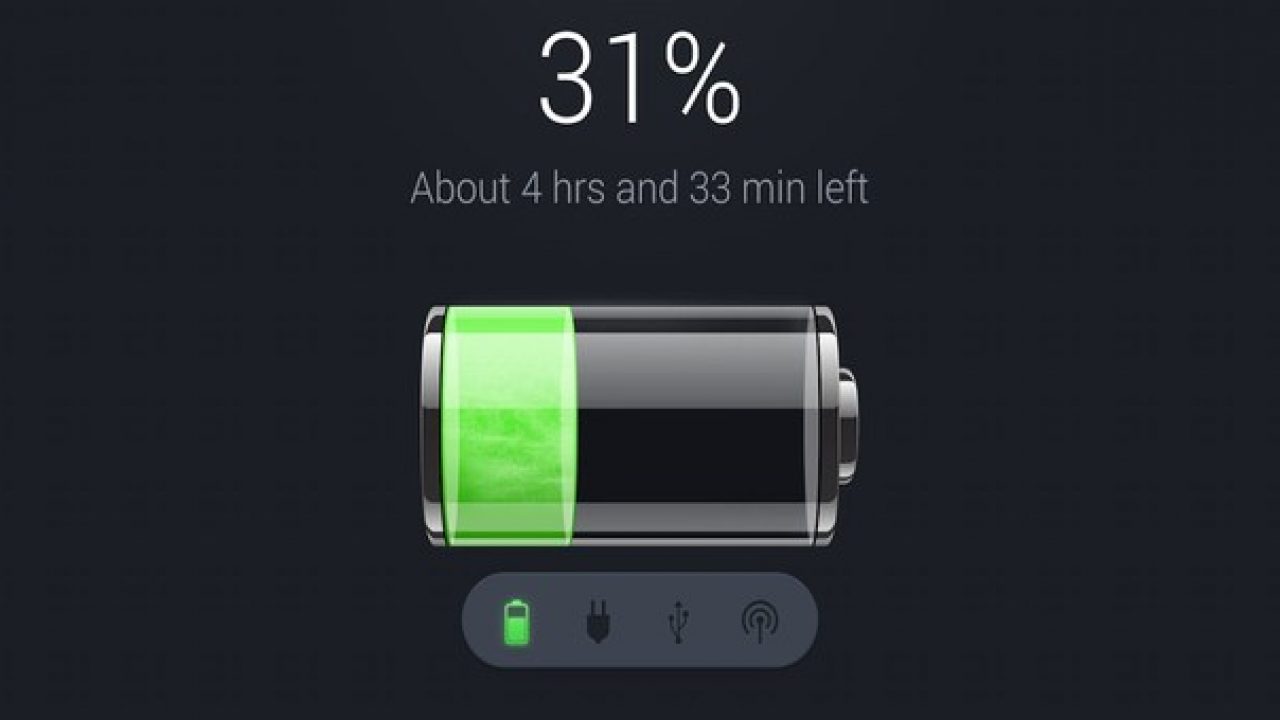
ByElijah LucasJanuary 20, 202210 Best Battery Saver Apps for Android No matter which phone you use, as time passes, they get drained quickly even if it was above…Tech
ByBenjamin NoahJanuary 20, 202210 Best Online Cloud Backup & Storage Services Backup and storage facilities are the need of the hour. In this age where everything works online, a…Tech