ByElijah LucasJanuary 14, 2026Windows 10 End of Life How to Navigate Post-Support Troubleshooting Microsoft has officially set the End-of-Life date for Windows 10 as October 14, 2025. After that day, the…Editorials
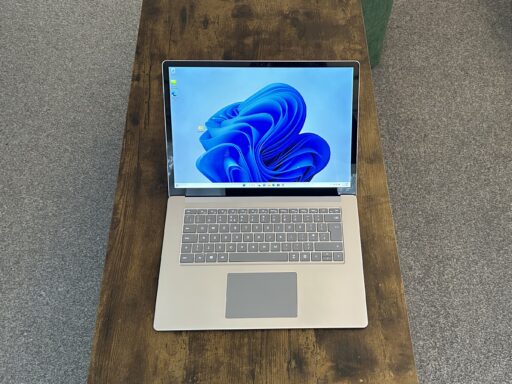
ByJames OliverJanuary 11, 2026How to Optimize Windows 11 Version 25H2 and 26H1 for Peak Performance The release of Windows 11 Version 25H2, often called the 2025 Update, and the early arrival of Version…Windows
ByBenjamin NoahJanuary 8, 2026The “New Outlook” Mandatory Transition: A Comprehensive How-To Guide Microsoft is currently moving all users toward the New Outlook for Windows, a modernized email client designed to…Apps
ByBenjamin NoahNovember 7, 2025Microsoft plans to fix Windows 11’s messy right-click menus Microsoft has confirmed it is working on a fix for one of the most common complaints about Windows…Tech
ByBenjamin NoahSeptember 26, 2025Microsoft Brings Back Vista-Era Animated Wallpaper to Windows 11 Microsoft is bringing back something that might feel oddly nostalgic to some users. Animated wallpapers, which first appeared…Tech
ByBenjamin NoahSeptember 23, 2025Here Is How to Disable AI Features in Your Windows 11 PC Microsoft has placed its AI assistant, Copilot, and other artificial intelligence features directly into its Windows 11 operating…Tech
ByBenjamin NoahSeptember 5, 2025Microsoft Issues Windows 11 Insider Build 26220.5790 to Dev Channel Microsoft has released Windows 11 Insider Preview Build 26220.5790 (KB5039719) to members of the Windows Insider Program in…Tech
ByBenjamin NoahAugust 29, 2025Hackers Find a Way to Turn Off Windows Defender Remotely A concerning new technique has been uncovered that allows hackers to remotely disable Windows Defender, the antivirus software…Tech
ByNitin AgarwalJuly 19, 2025How to Free Up RAM Without Restarting in Windows Learn effective ways to free up RAM on Windows 10/11 without restarting. Optimize performance by managing processes, services, and memory usage.Editorials
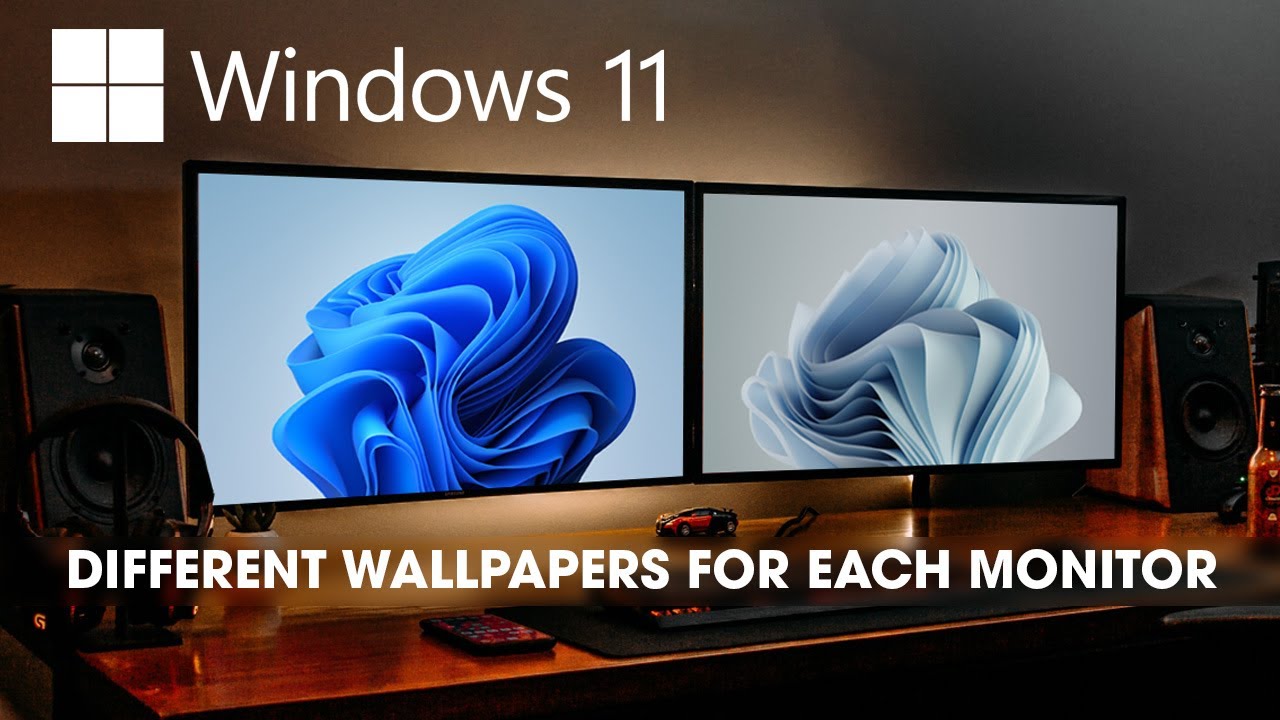
ByWilliam JohnsonJuly 15, 2025How to Configure Multiple Desktops with Unique Wallpapers in Windows 11 Organize your workflow in Windows 11! Learn how to create multiple virtual desktops and assign unique wallpapers to each for better productivity.Editorials
ByElijah LucasJuly 12, 2025How to Build a Distraction-Free Desktop Using Windows Snap Groups Master Windows Snap Groups to create a distraction-free desktop. Organize windows, save layouts, and boost focus for seamless multitasking.Editorials
ByElijah LucasJuly 8, 2025How to Set Up Windows Hello Face Recognition Login Set up Windows Hello Face Recognition for instant, secure logins on your Windows PC. Learn the step-by-step process, hardware requirements, and troubleshooting tips.Editorials