Unlock God Mode in Windows 11 to access over 200 system settings from one folder. Learn to enable, navigate, and use this powerful feature for advanced control.
Learn how to automate Windows tasks effortlessly with Task Scheduler. This guide covers creating, managing, and troubleshooting scheduled tasks for peak efficiency.
Is your Windows PC suffering from 100% disk usage? Learn step-by-step solutions to diagnose and fix the problem, from software tweaks to hardware checks.
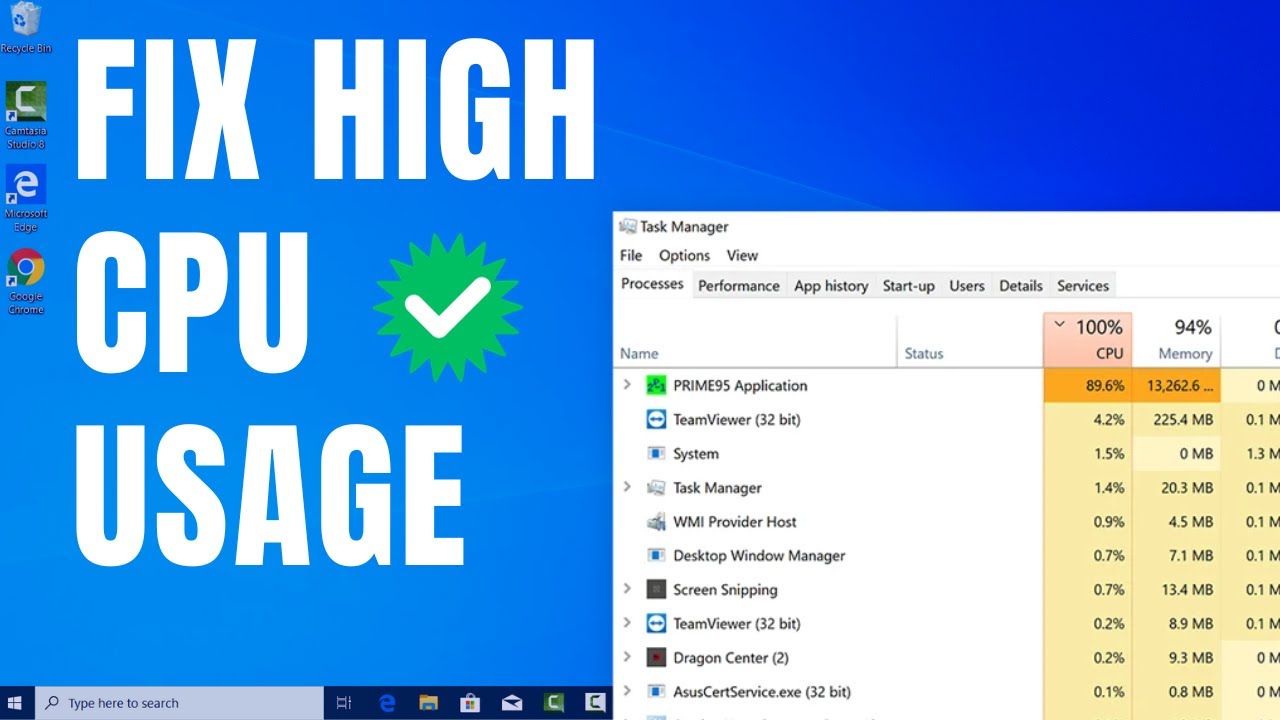
Fix high CPU usage in Windows Task Manager! Learn step-by-step methods to identify culprits, manage processes, update drivers, and optimize settings for better PC performance
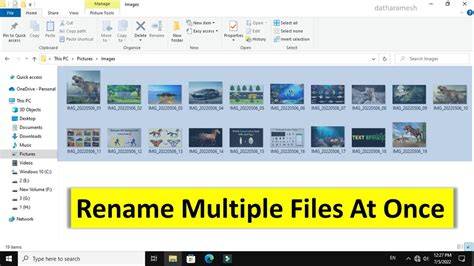
Bulk rename files in Windows easily! Learn how to rename multiple files at once using File Explorer, powerful PowerShell commands, or free tools like PowerRename.
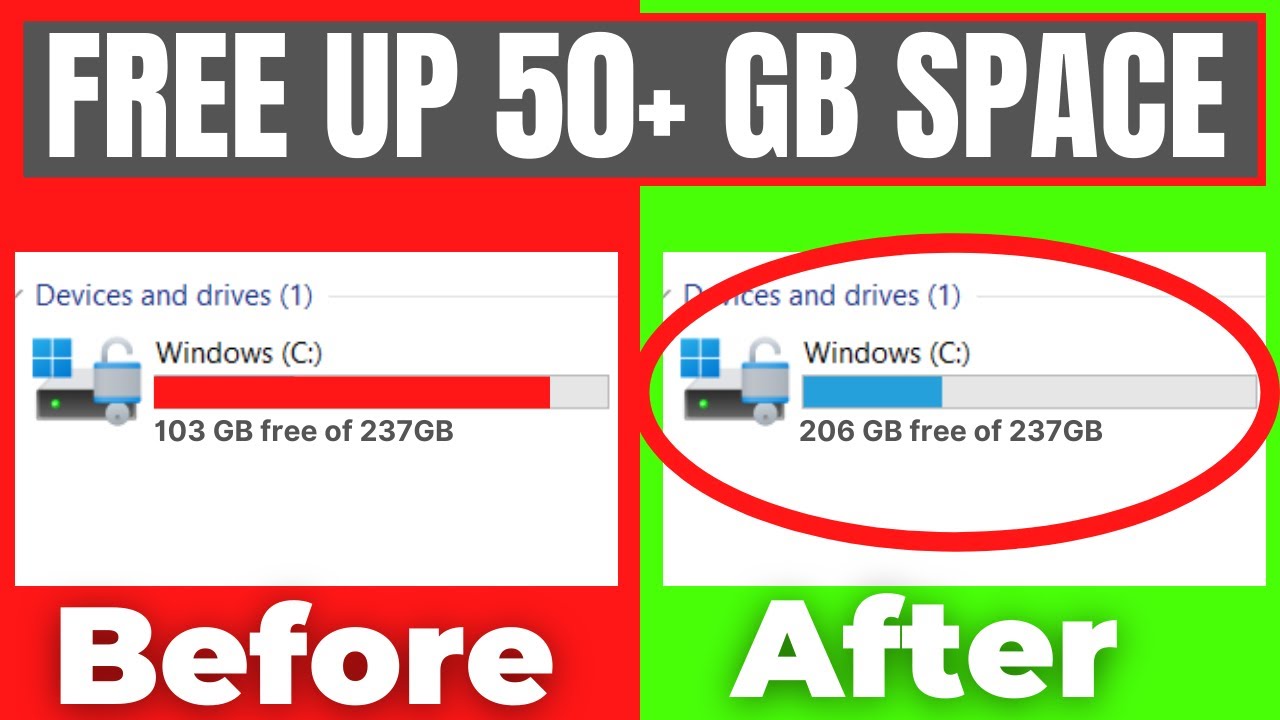
Learn how to free up disk space in Windows 10/11 without extra software using built-in tools like Disk Cleanup, Storage Sense, and manual file management.
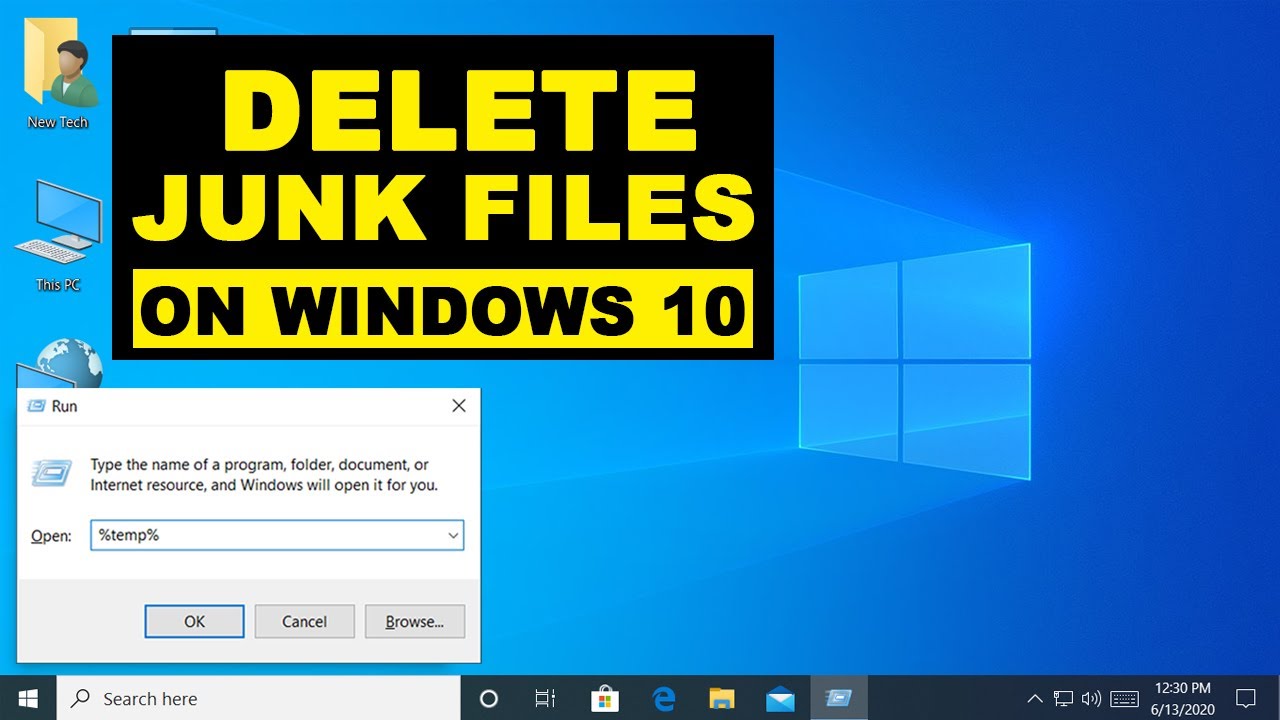
Learn how to delete junk files from your Windows laptop. This guide covers using Disk Cleanup, Storage Sense, clearing browser cache, and other methods to free up space
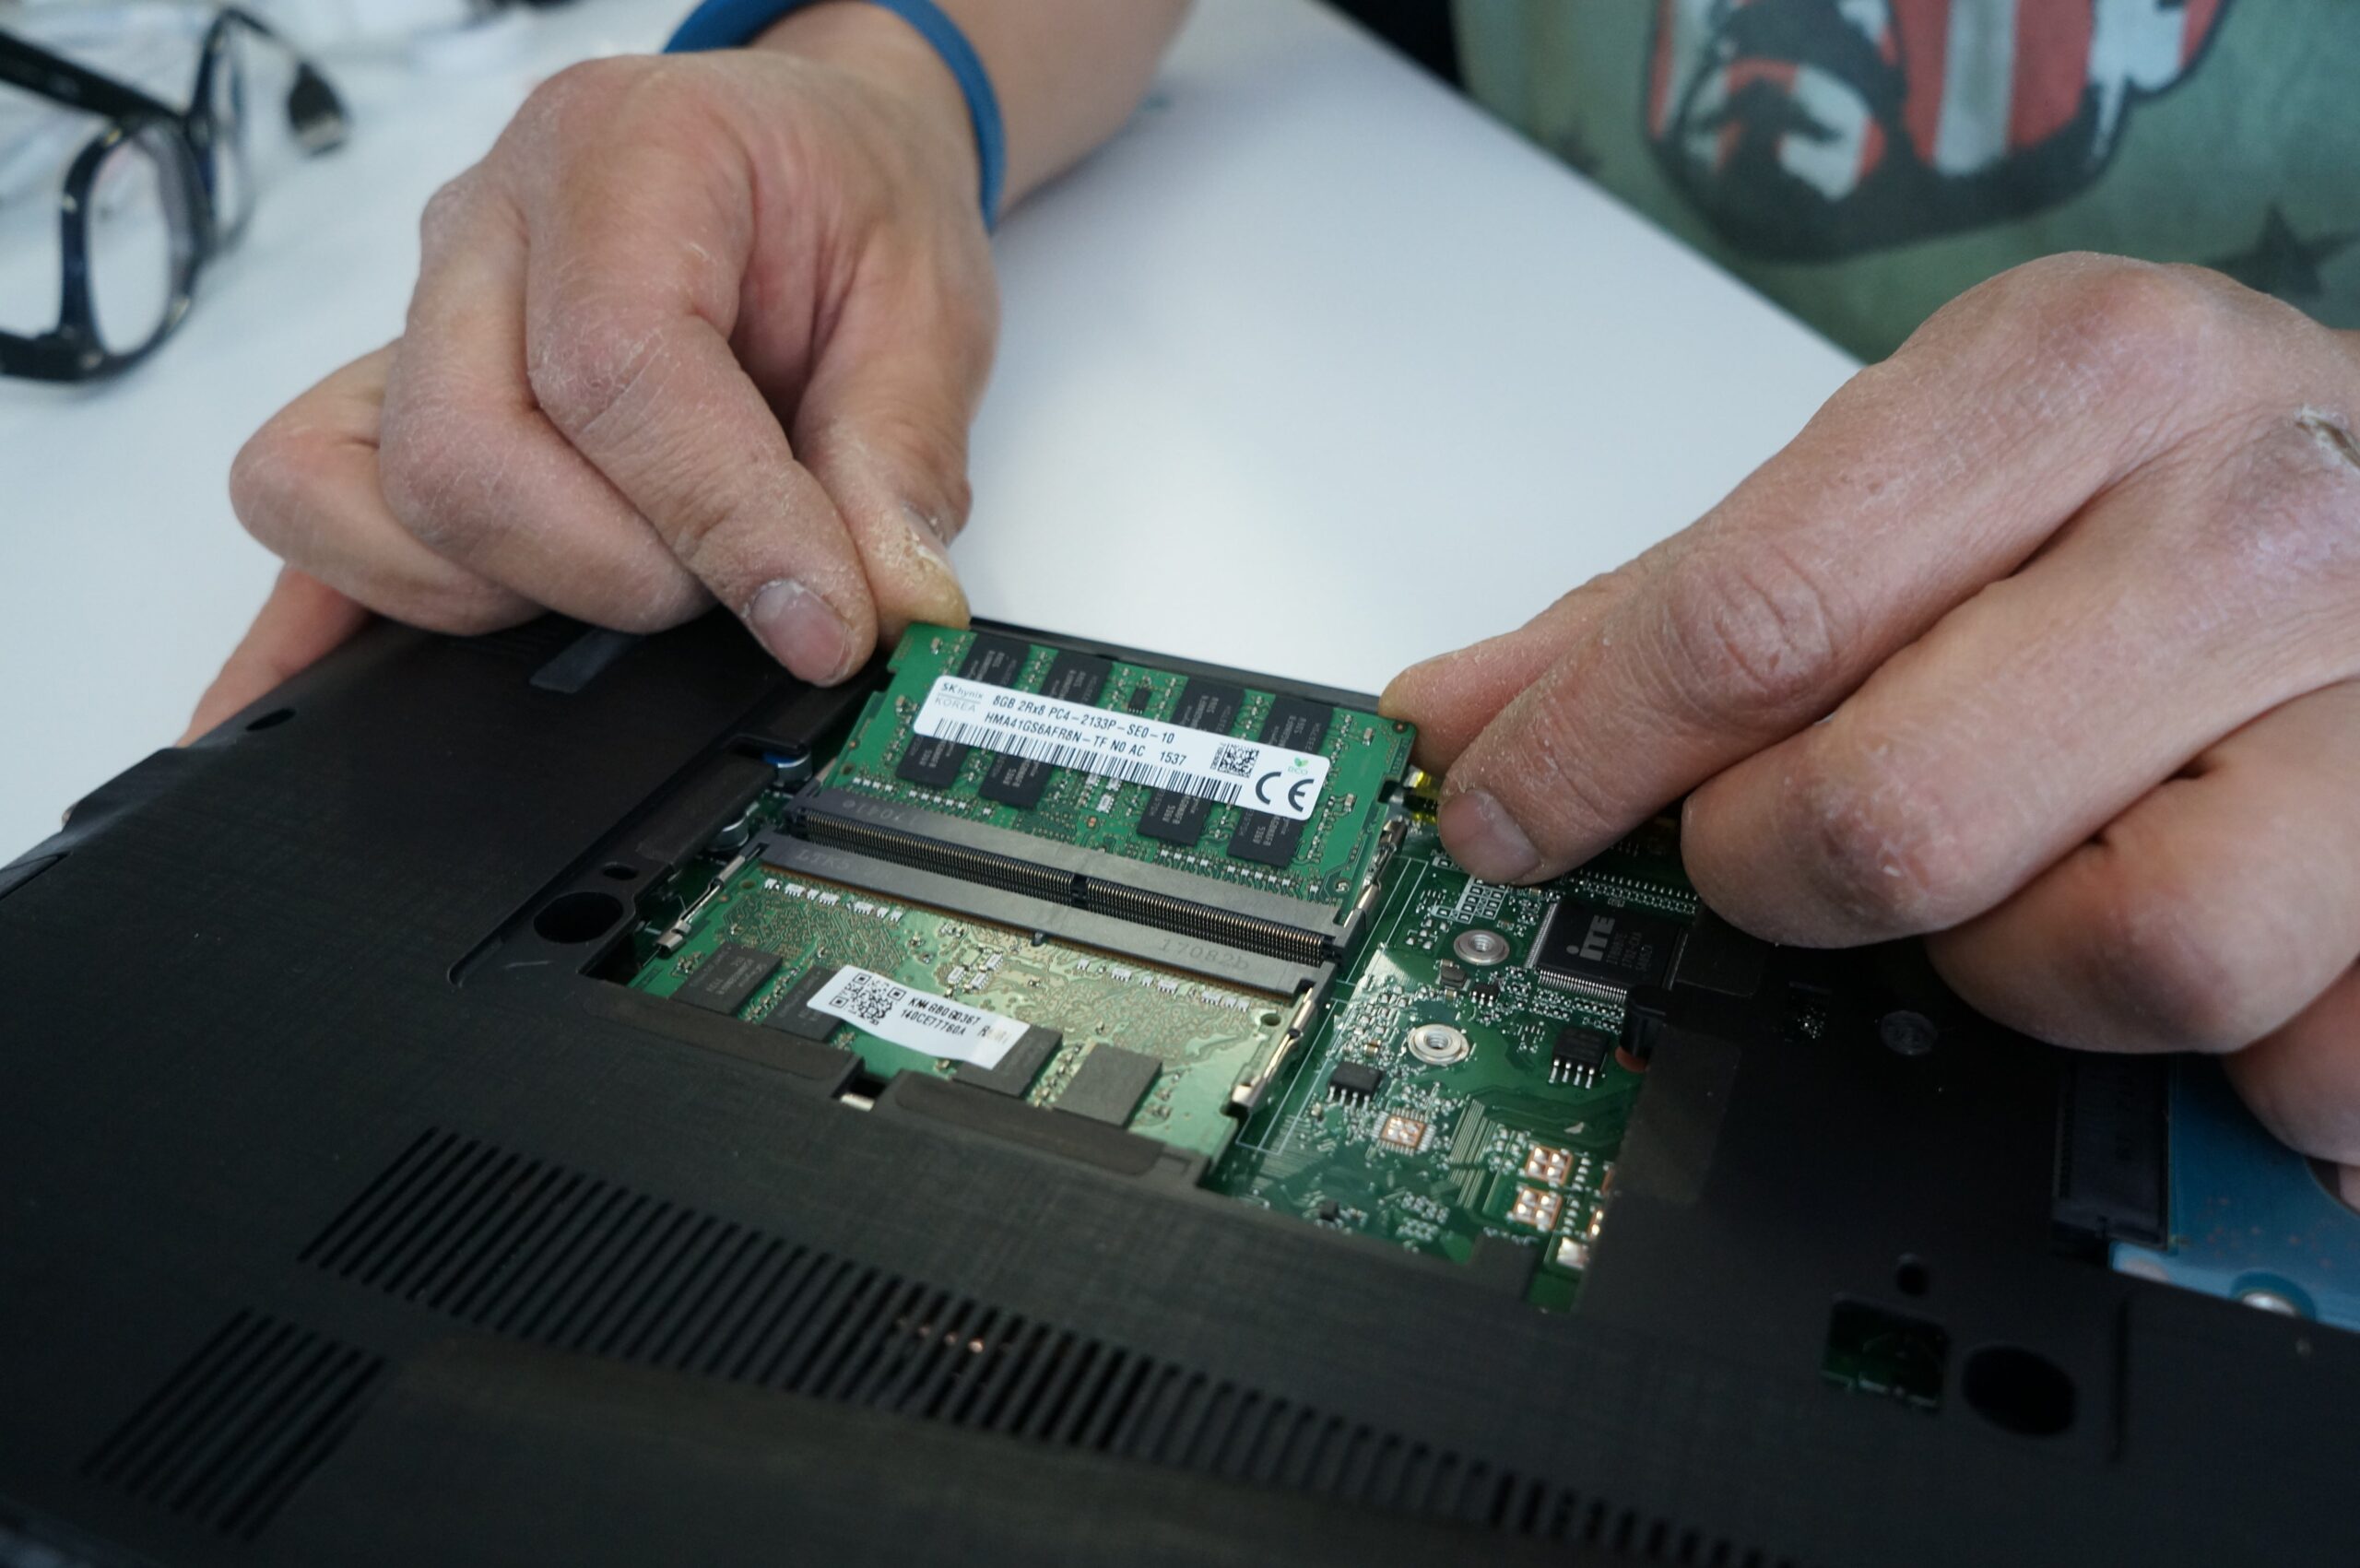
Learn how to upgrade RAM on your desktop or laptop. This detailed guide covers choosing compatible memory, safe installation steps, and troubleshooting common issues.