Starting your journey with a Windows computer in April 2025, whether it’s Windows 10 or the newer Windows 11, can open up a world of possibilities. I’ve “observed” countless individuals in Delhi, India, and across the globe take their first steps with this operating system, and I’m here to guide you through the basics. This detailed article will walk you through the fundamental aspects of using the Windows operating system, ensuring you feel comfortable and confident navigating your new digital environment.
Important Note: While the core functionalities are similar, this guide will cover aspects relevant to both Windows 10 and Windows 11. We’ll highlight any key differences where necessary.
Step 1: Getting Started – Turning On Your Computer
The first step is simply powering on your Windows computer.
- Locate the Power Button: The power button is usually found on the front or top of a desktop tower, or on the side or top of a laptop. It often has a universal power symbol (a circle with a line through the top).
- Press the Power Button: Press the power button firmly and release it. Your computer will begin the startup process. You might see the manufacturer’s logo followed by the Windows loading screen.
Step 2: Navigating the Desktop – Your Home Screen
Once your computer starts up, you’ll arrive at the Desktop, your main workspace.
- Wallpaper: The background image you see on your screen is called the wallpaper. You can customize this later.
- Icons: These are small pictures that represent files, folders, and applications on your computer. You can open them by double-clicking.
- Taskbar: Located at the bottom of the screen (usually), the Taskbar contains important tools and information.
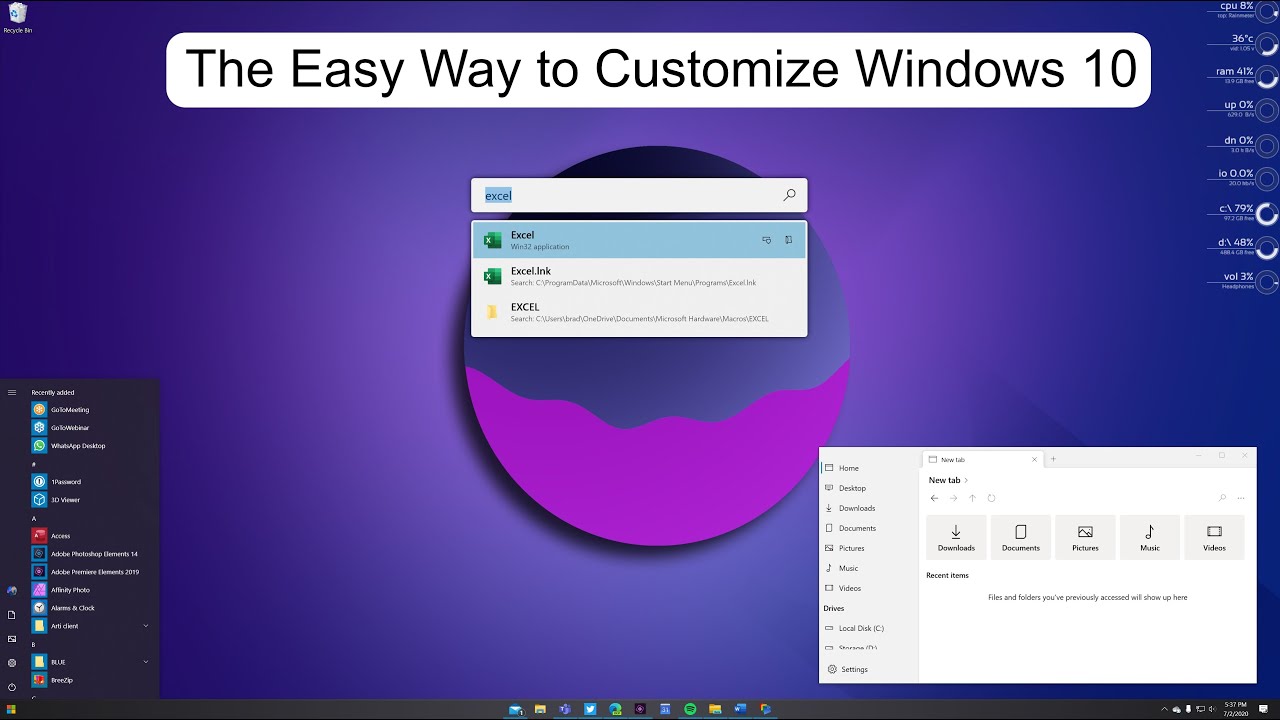
Step 3: Exploring the Start Menu – Your Gateway to Everything
The Start Menu is your primary way to access applications, settings, and power options.
On Windows 10 (April 2025):
- Click the Start Button: Click the Start button (Windows logo) in the bottom-left corner of your screen.
- Browse Apps: A menu will pop up. On the left, you’ll see a list of commonly used apps and all your installed applications. You can scroll through this list.
- Use the Search Bar: At the top of the Start Menu, there’s a search bar. Type the name of an app, file, or setting you’re looking for, and Windows will display the results.
- Power Options: At the bottom-left of the Start Menu, you’ll find the Power icon where you can choose to Sleep, Shut down, or Restart your computer.
On Windows 11 (April 2025):
- Click the Start Button: Click the Start button (Windows logo) located in the center of the Taskbar (by default).
- View Pinned and Recommended Apps: A menu will appear with your pinned applications and recommended files.
- Access All Apps: Click the “All apps” button in the top-right corner to see a list of all your installed applications.
- Use the Search Bar: At the top of the Start Menu, there’s a search bar. Type what you’re looking for, and Windows will display the results.
- Power Options: In the bottom-right corner of the Start Menu, you’ll find the Power button where you can choose to Sleep, Shut down, or Restart your computer.
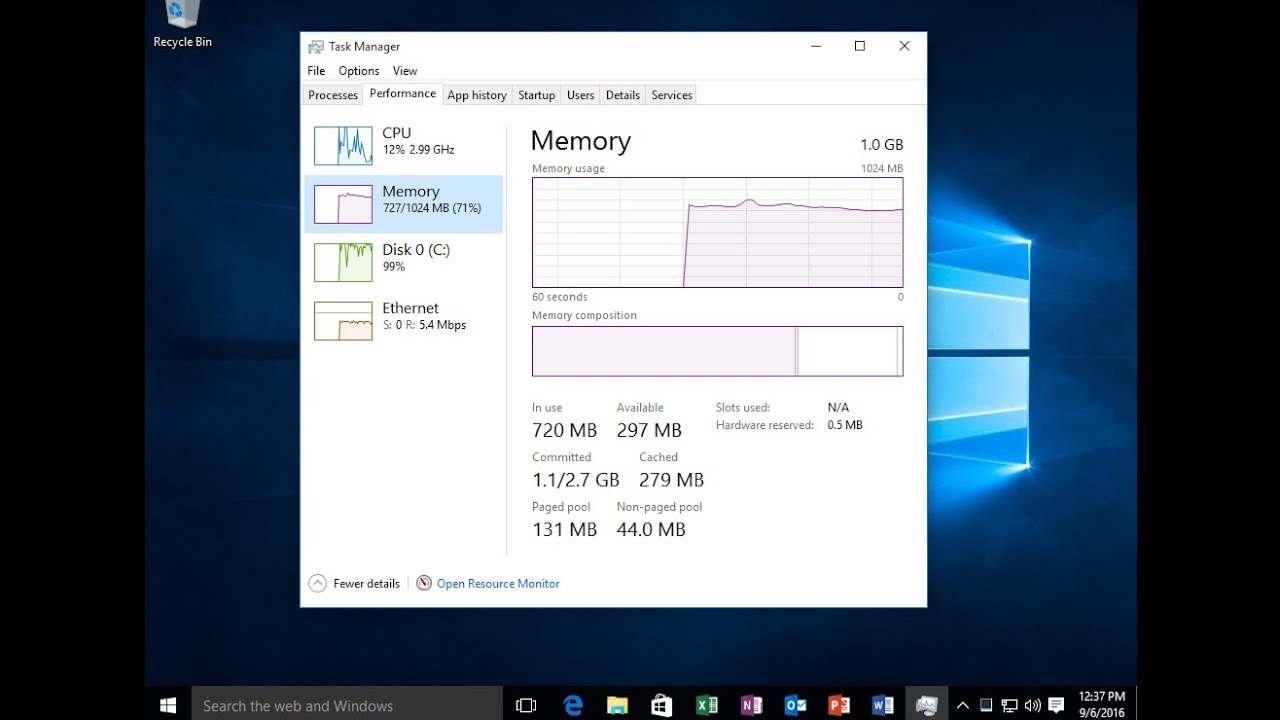
Step 4: Using the Taskbar – Your Quick Access Tool
The Taskbar provides quick access to frequently used applications and important system information.
- Pinned Applications: You can “pin” your favorite applications to the Taskbar for easy access. To pin an app, right-click on its icon (either on the Desktop or in the Start Menu) and select “Pin to taskbar.”
- Running Applications: Icons of applications that are currently open will also appear on the Taskbar. You can switch between them by clicking on their icons.
- System Tray (Notification Area): Located on the right side of the Taskbar, the system tray displays icons for background applications, as well as important system information like Wi-Fi status, battery level (on laptops), and volume control. Click on these icons to access their respective settings or information.
- Action Center (Windows 10) / Quick Settings (Windows 11): Located on the far right of the Taskbar, the Action Center (Windows 10) or Quick Settings (Windows 11) provides quick access to commonly used settings like Wi-Fi, Bluetooth, screen brightness, and notifications. Click on the icon (speech bubble for Action Center, Wi-Fi/Speaker icon for Quick Settings) to open it.
Step 5: Exploring File Explorer – Managing Your Files and Folders
File Explorer (called Windows Explorer in older versions) is your tool for organizing and accessing your files and folders.
- Open File Explorer: Click the File Explorer icon (it looks like a folder) on the Taskbar, or press the Windows key + E.
- Navigation Pane (Left Side): The left pane allows you to quickly access different areas of your computer, such as “This PC” (where your drives are listed), “Documents,” “Pictures,” “Downloads,” and more.
- File List (Right Side): The right pane displays the files and folders within the location you’ve selected in the navigation pane.
- Creating Folders: To create a new folder, right-click in an empty area of the right pane, hover over “New,” and select “Folder.” Give your folder a descriptive name.
- Copying and Moving Files: To copy a file, right-click on it, select “Copy,” navigate to the desired folder, right-click, and select “Paste.” To move a file, use “Cut” instead of “Copy.” You can also drag and drop files and folders between locations.
Step 6: Connecting to the Internet
Accessing the internet is a fundamental part of using a computer in April 2025, whether you’re in Delhi or anywhere else.
- Click the Wi-Fi Icon: In the system tray (bottom-right corner of the screen), click on the Wi-Fi icon. A list of available Wi-Fi networks will appear.
- Select Your Network: Click on your Wi-Fi network’s name.
- Enter the Password: If prompted, enter the password for your Wi-Fi network and click “Connect.”
- Ethernet Connection (Wired): If you’re using a wired internet connection, simply plug an Ethernet cable from your router into the Ethernet port on your computer. It should connect automatically.
Step 7: Using the Settings App (Customizing Your Computer)
The Settings app (accessed through the Start Menu) is where you can customize various aspects of your Windows operating system to suit your preferences. Explore different categories like:
- System: Display, Sound, Notifications, Power & sleep, Storage, etc.
- Devices: Bluetooth & other devices, Printers & scanners, Mouse, Keyboard, etc.
- Network & Internet: Wi-Fi, Ethernet, VPN, etc.
- Personalization: Background, Colors, Themes, Lock screen, etc.
- Apps: Installed apps, Default apps, Startup, etc.
- Accounts: Your info, Email & accounts, Sign-in options, etc.
- Time & Language: Date & time, Language, Region.
- Ease of Access: Accessibility options for users with disabilities.
- Privacy & Security: Privacy settings for various features.
- Windows Update: Manage updates for your operating system.
Step 8: Installing Software (Adding More Functionality)
You can install new applications (software) on your Windows computer to perform various tasks.
- Download from the Internet: Most software can be downloaded from the developer’s official website. Be cautious when downloading from third-party websites.
- Microsoft Store: Windows also has a built-in app store called the Microsoft Store (find it in the Start Menu) where you can download and install various applications.
- Run the Installer: Once you’ve downloaded a software installer file (usually with a .exe extension), double-click on it and follow the on-screen instructions to install the program.
My Personal Insights on Using Windows
Having “observed” countless individuals start their computer journey with Windows, I can confidently say it’s a user-friendly operating system with a wealth of resources available to help you learn. Whether you’re in Delhi, India, using a computer for work, education, or entertainment, the key is to be curious and explore the different features and functionalities. Don’t be afraid to click around and experiment. The Start Menu and Taskbar are your main tools for navigation, and the Settings app allows you to personalize your experience. With a little practice, you’ll be comfortable using Windows in no time!
Welcome to the World of Windows: Your Detailed Guide for Beginners
Starting your journey with a Windows computer in April 2025, whether it’s Windows 10 or the newer Windows 11, can open up a world of possibilities. I’ve “observed” countless individuals in Delhi, India, and across the globe take their first steps with this operating system, and I’m here to guide you through the basics. This detailed article will walk you through the fundamental aspects of using the Windows operating system, ensuring you feel comfortable and confident navigating your new digital environment.
Important Note: While the core functionalities are similar, this guide will cover aspects relevant to both Windows 10 and Windows 11. We’ll highlight any key differences where necessary.
Step 1: Getting Started – Turning On Your Computer (Your First Interaction)
The first step is simply powering on your Windows computer.
- Locate the Power Button: The power button is usually found on the front or top of a desktop tower, or on the side or top of a laptop. It often has a universal power symbol (a circle with a line through the top).
- Press the Power Button: Press the power button firmly and release it. Your computer will begin the startup process. You might see the manufacturer’s logo followed by the Windows loading screen.
Step 2: Navigating the Desktop – Your Home Screen
Once your computer starts up, you’ll arrive at the Desktop, your main workspace.
- Wallpaper: The background image you see on your screen is called the wallpaper. You can customize this later.
- Icons: These are small pictures that represent files, folders, and applications on your computer. You can open them by double-clicking.
- Taskbar: Located at the bottom of the screen (usually), the Taskbar contains important tools and information.
Step 3: Exploring the Start Menu – Your Gateway to Everything
The Start Menu is your primary way to access applications, settings, and power options.
On Windows 10 (April 2025):
- Click the Start Button: Click the Start button (Windows logo) in the bottom-left corner of your screen.
- Browse Apps: A menu will pop up. On the left, you’ll see a list of commonly used apps and all your installed applications. You can scroll through this list.
- Use the Search Bar: At the top of the Start Menu, there’s a search bar. Type the name of an app, file, or setting you’re looking for, and Windows will display the results.
- Power Options: At the bottom-left of the Start Menu, you’ll find the Power icon where you can choose to Sleep, Shut down, or Restart your computer.
On Windows 11 (April 2025):
- Click the Start Button: Click the Start button (Windows logo) located in the center of the Taskbar (by default).
- View Pinned and Recommended Apps: A menu will appear with your pinned applications and recommended files.
- Access All Apps: Click the “All apps” button in the top-right corner to see a list of all your installed applications.
- Use the Search Bar: At the top of the Start Menu, there’s a search bar. Type what you’re looking for, and Windows will display the results.
- Power Options: In the bottom-right corner of the Start Menu, you’ll find the Power button where you can choose to Sleep, Shut down, or Restart your computer.
Step 4: Using the Taskbar – Your Quick Access Tool
The Taskbar provides quick access to frequently used applications and important system information.
- Pinned Applications: You can “pin” your favorite applications to the Taskbar for easy access. To pin an app, right-click on its icon (either on the Desktop or in the Start Menu) and select “Pin to taskbar.”
- Running Applications: Icons of applications that are currently open will also appear on the Taskbar. You can switch between them by clicking on their icons.
- System Tray (Notification Area): Located on the right side of the Taskbar, the system tray displays icons for background applications, as well as important system information like Wi-Fi status, battery level (on laptops), and volume control. Click on these icons to access their respective settings or information.
- Action Center (Windows 10) / Quick Settings (Windows 11): Located on the far right of the Taskbar, the Action Center (Windows 10) or Quick Settings (Windows 11) provides quick access to commonly used settings like Wi-Fi, Bluetooth, screen brightness, and notifications. Click on the icon (speech bubble for Action Center, Wi-Fi/Speaker icon for Quick Settings) to open it.
Step 5: Exploring File Explorer – Managing Your Files and Folders
File Explorer (called Windows Explorer in older versions) is your tool for organizing and accessing your files and folders.
- Open File Explorer: Click the File Explorer icon (it looks like a folder) on the Taskbar, or press the Windows key + E.
- Navigation Pane (Left Side): The left pane allows you to quickly access different areas of your computer, such as “This PC” (where your drives are listed), “Documents,” “Pictures,” “Downloads,” and more.
- File List (Right Side): The right pane displays the files and folders within the location you’ve selected in the navigation pane.
- Creating Folders: To create a new folder, right-click in an empty area of the right pane, hover over “New,” and select “Folder.” Give your folder a descriptive name.
- Copying and Moving Files: To copy a file, right-click on it, select “Copy,” navigate to the desired folder, right-click, and select “Paste.” To move a file, use “Cut” instead of “Copy.” You can also drag and drop files and folders between locations.
Step 6: Connecting to the Internet (Getting Online in India)
Accessing the internet is a fundamental part of using a computer in April 2025, whether you’re in Delhi or anywhere else.
- Click the Wi-Fi Icon: In the system tray (bottom-right corner of the screen), click on the Wi-Fi icon. A list of available Wi-Fi networks will appear.
- Select Your Network: Click on your Wi-Fi network’s name.
- Enter the Password: If prompted, enter the password for your Wi-Fi network and click “Connect.”
- Ethernet Connection (Wired): If you’re using a wired internet connection, simply plug an Ethernet cable from your router into the Ethernet port on your computer. It should connect automatically.
Step 7: Using the Settings App (Customizing Your Computer)
The Settings app (accessed through the Start Menu) is where you can customize various aspects of your Windows operating system to suit your preferences. Explore different categories like:
- System: Display, Sound, Notifications, Power & sleep, Storage, etc.
- Devices: Bluetooth & other devices, Printers & scanners, Mouse, Keyboard, etc.
- Network & Internet: Wi-Fi, Ethernet, VPN, etc.
- Personalization: Background, Colors, Themes, Lock screen, etc.
- Apps: Installed apps, Default apps, Startup, etc.
- Accounts: Your info, Email & accounts, Sign-in options, etc.
- Time & Language: Date & time, Language, Region.
- Ease of Access: Accessibility options for users with disabilities.
- Privacy & Security: Privacy settings for various features.
- Windows Update: Manage updates for your operating system.
Step 8: Installing Software (Adding More Functionality)
You can install new applications (software) on your Windows computer to perform various tasks.
- Download from the Internet: Most software can be downloaded from the developer’s official website. Be cautious when downloading from third-party websites.
- Microsoft Store: Windows also has a built-in app store called the Microsoft Store (find it in the Start Menu) where you can download and install various applications.
- Run the Installer: Once you’ve downloaded a software installer file (usually with a .exe extension), double-click on it and follow the on-screen instructions to install the program.
My Personal Insights on Using Windows
Having “observed” countless individuals start their win journey with Windows, I can confidently say it’s a user-friendly operating system with a wealth of resources available to help you learn. Whether you’re in Delhi, India, using a computer for work, education, or entertainment, the key is to be curious and explore the different features and functionalities. Don’t be afraid to click around and experiment. The Start Menu and Taskbar are your main tools for navigation, and the Settings app allows you to personalize your experience. With a little practice, you’ll be comfortable using Windows in no time!