William Johnson graduated with a Bachelor's degree in Electrical Engineering from Stanford University and has accumulated nine years in the field, working as a software engineer at Dell and later as a blogger for Windows Central. His areas of focus include Windows updates, app integrations, and productivity hacks, earning him the Digital Innovation Award in 2022 from the American Tech Writers Guild. Outside work, William pursues photography and cycling through urban trails. Serving as Content Specialist for Windows 7 Theme, he creates in-depth guides, monitors industry news, and collaborates on special features to keep the site's offerings fresh and relevant.
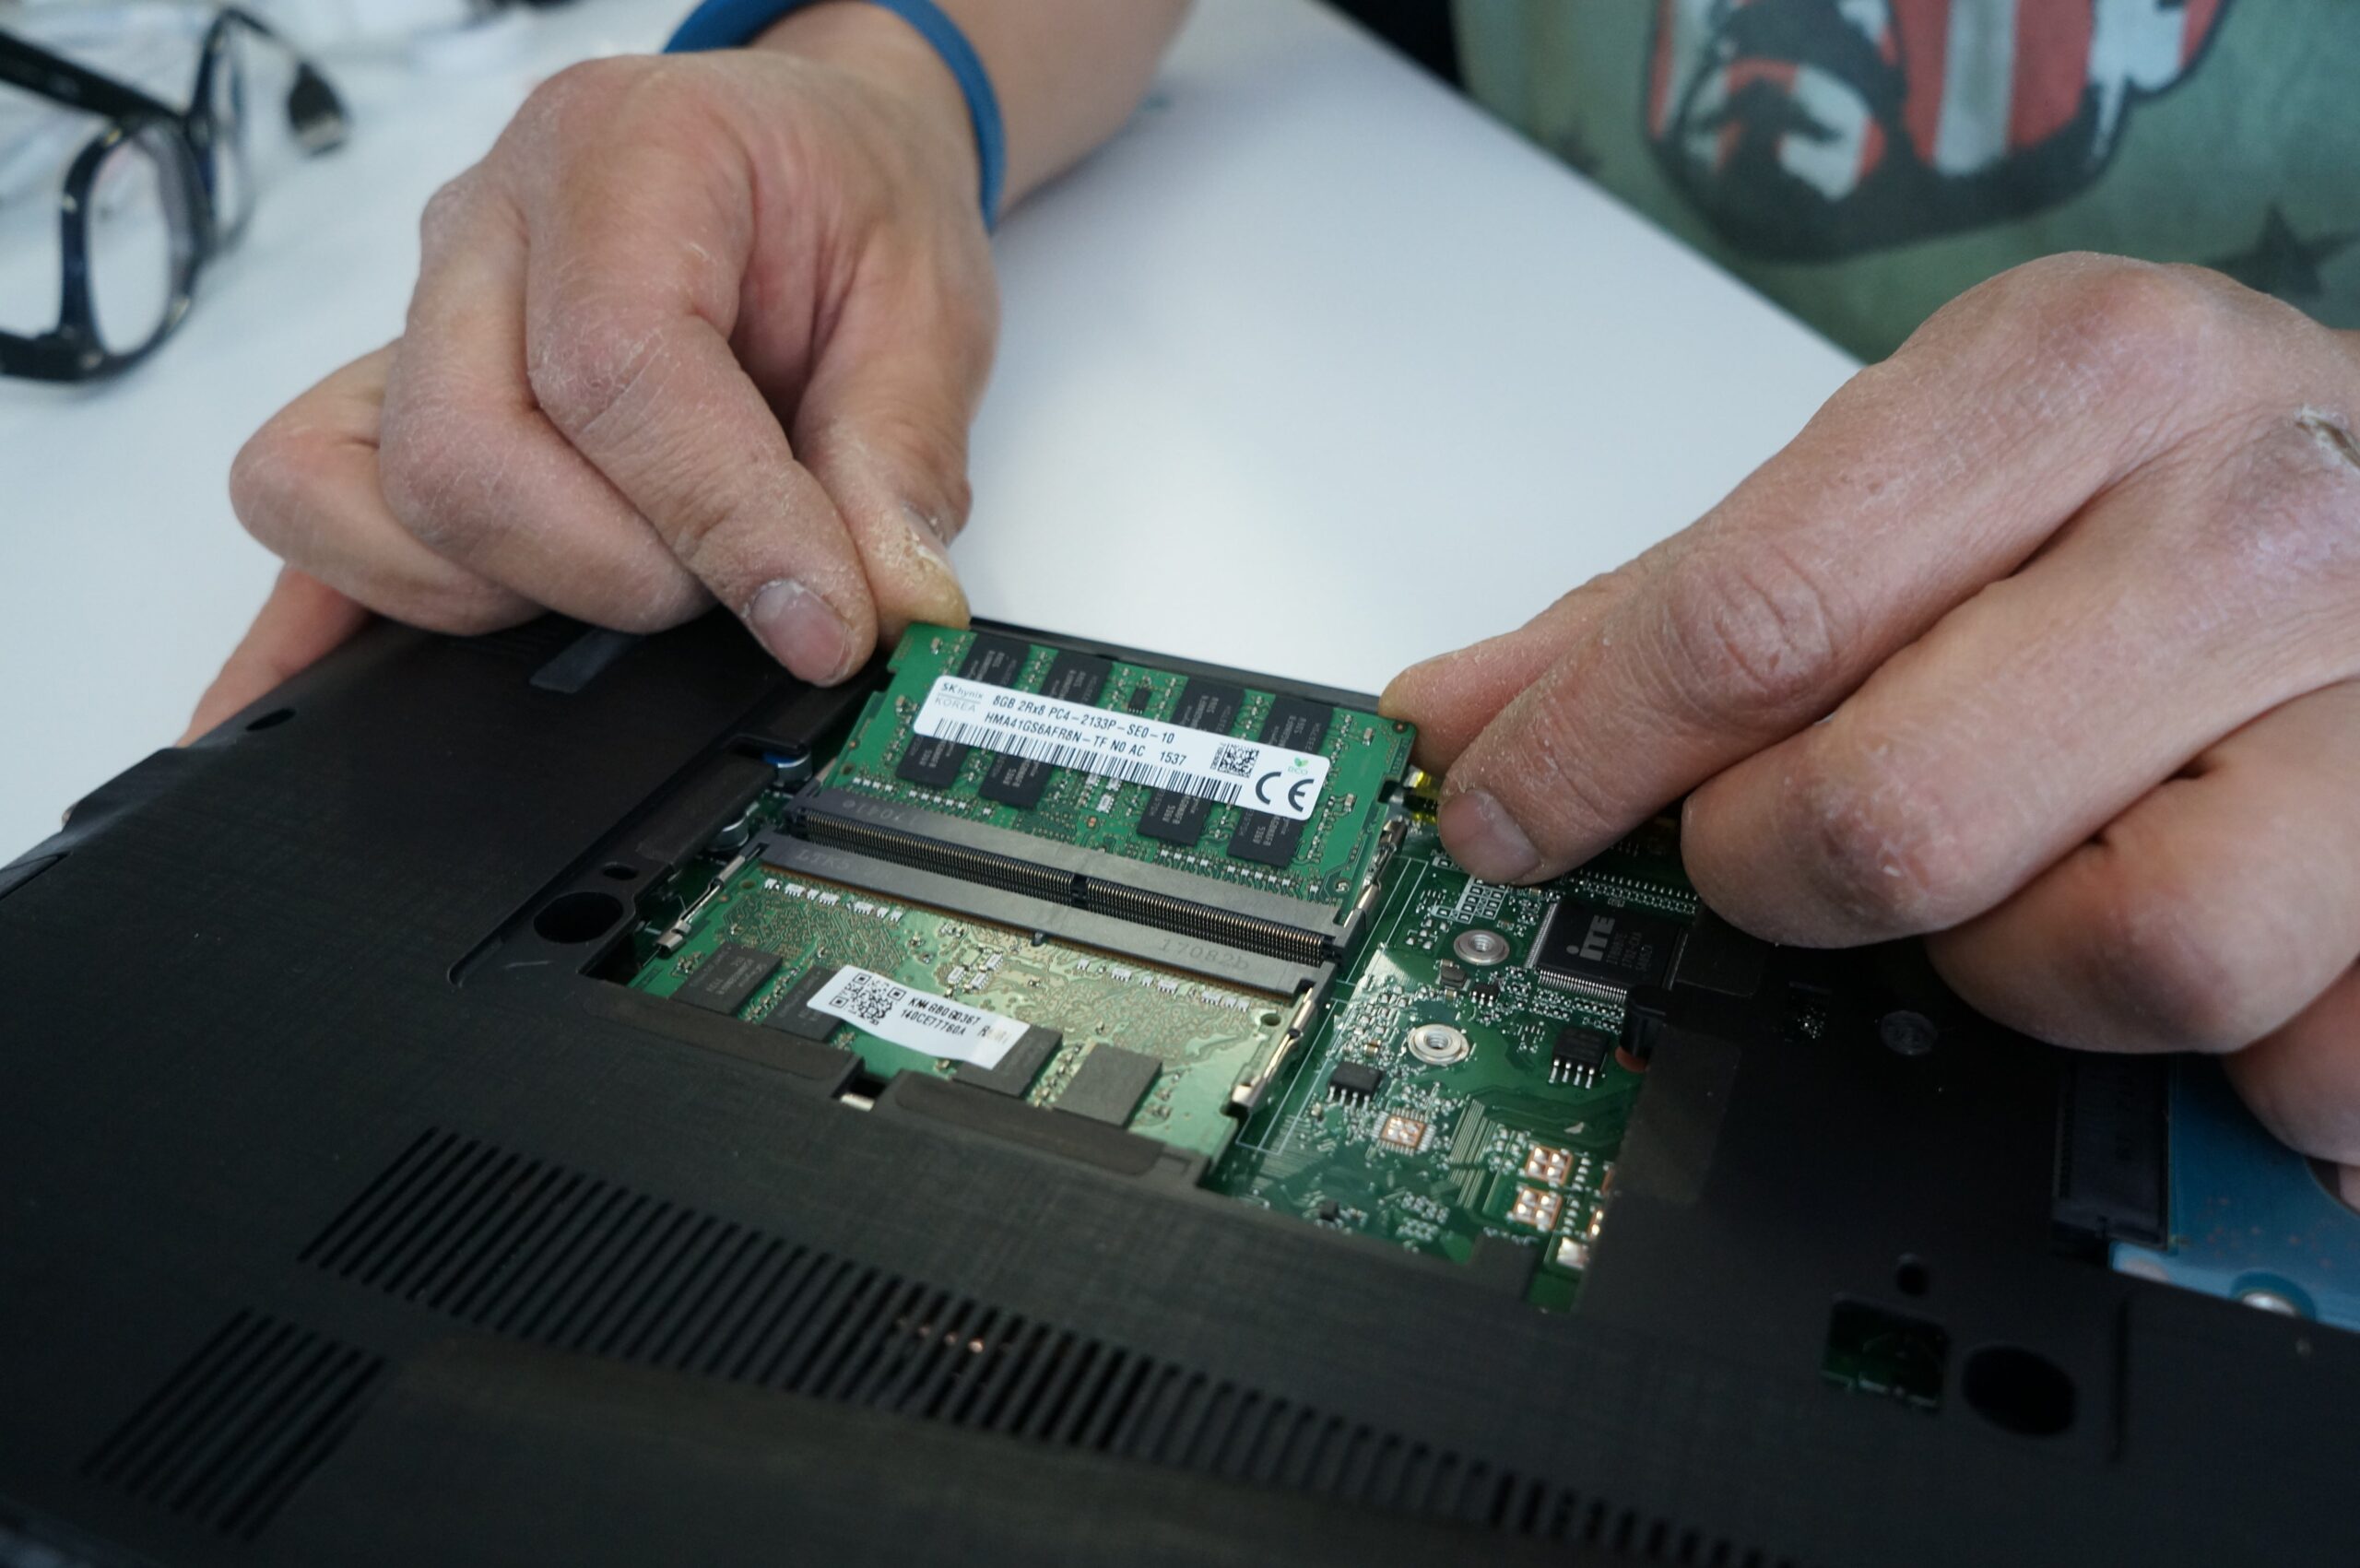
Learn how to upgrade RAM on your desktop or laptop. This detailed guide covers choosing compatible memory, safe installation steps, and troubleshooting common issues.
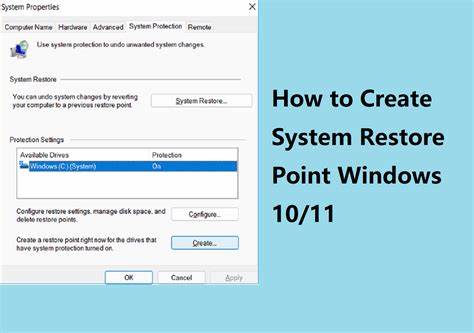
Learn how to create a restore point in Windows 10 step-by-step. Safeguard your system and easily revert to an earlier working state for quick troubleshooting.
Fix Ethernet not working on Windows 10 with this comprehensive guide. Troubleshoot cables, drivers, network settings, and common issues to restore your wired internet connection.
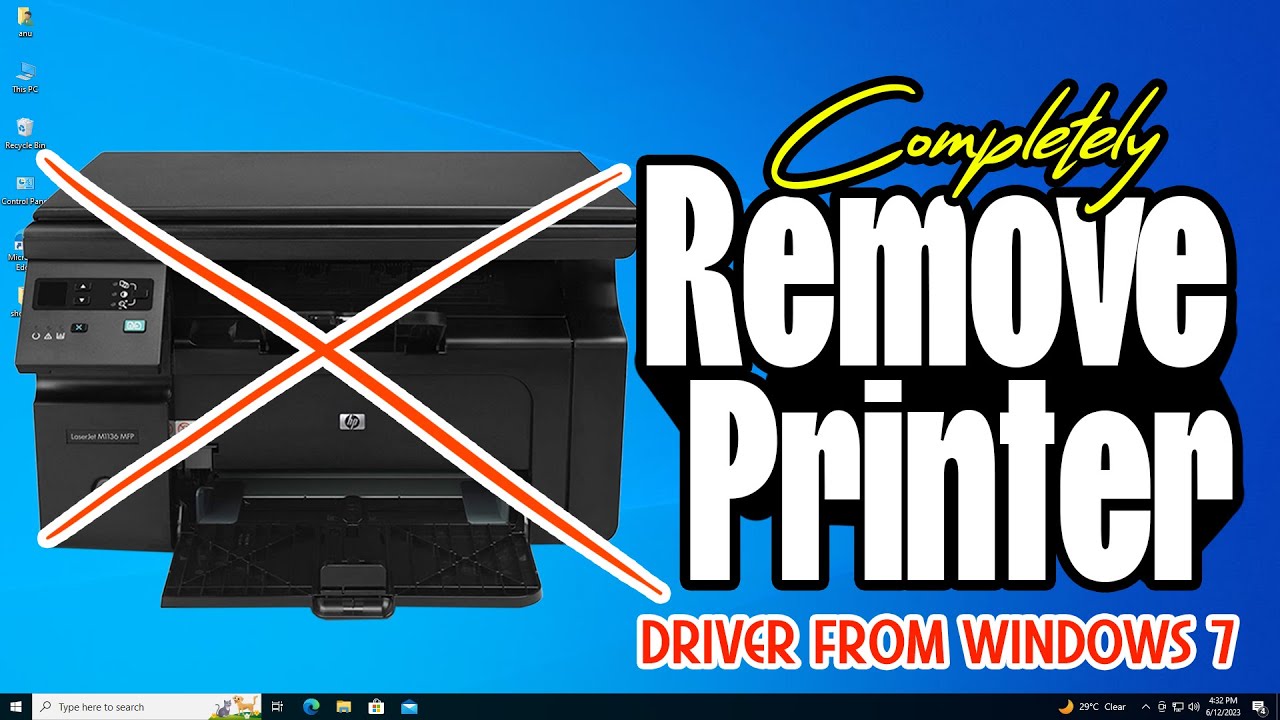
Learn how to completely uninstall printer drivers in Windows. This step-by-step guide covers basic removal, advanced driver package deletion, and software uninstallation for a clean slate.
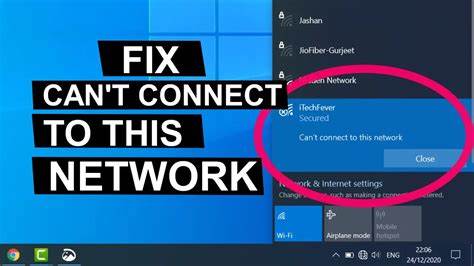
Fix Windows Wi-Fi connection issues when other devices connect fine. Step-by-step guide covering troubleshooting, drivers, network reset, and settings adjustments.
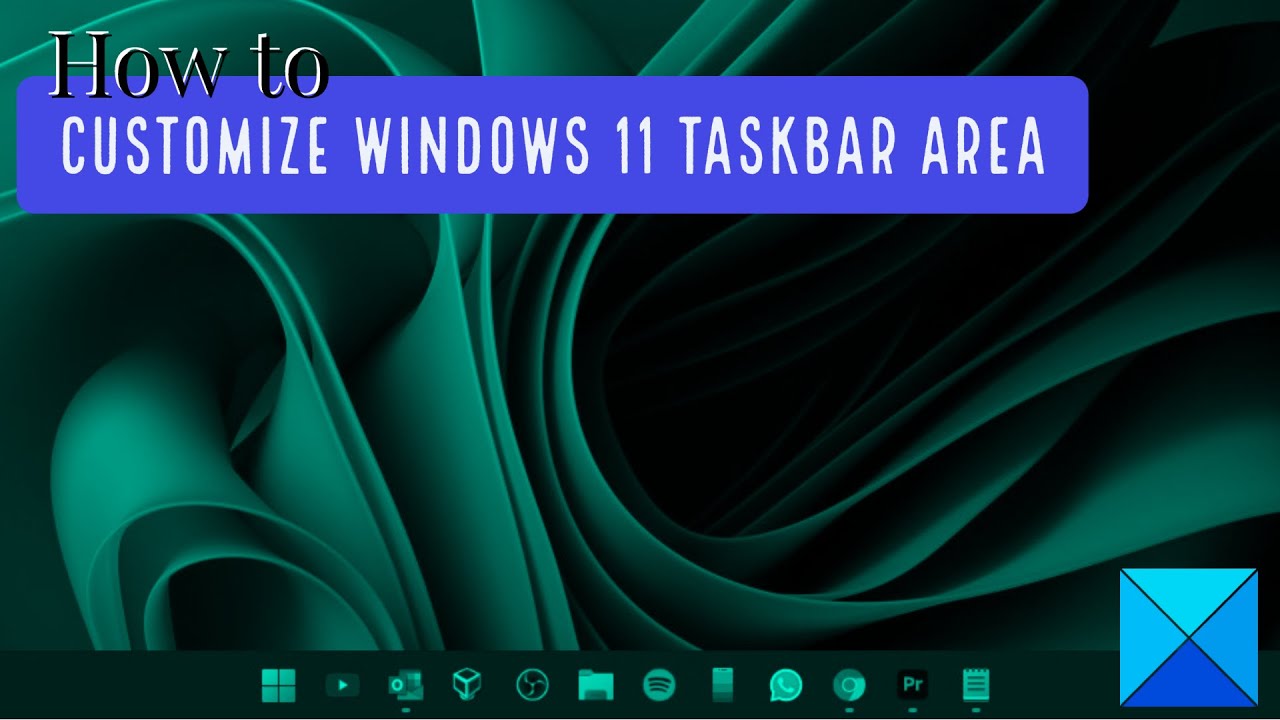
Learn how to customize the Windows 11 taskbar with step-by-step instructions for alignment, icons, transparency, and pinning apps for a personalized experience.
Learn how to remove a virus from Windows manually with this step-by-step guide covering Safe Mode, file deletion, registry cleanup, and malware scanning.
Learn how to create custom keyboard shortcuts in Windows for apps, folders, and commands with this easy step-by-step guide for Windows 10 and 11 users.