If you’re looking to enhance your computing experience or explore the world of open-source software, installing Linux alongside Windows is a great way to start. Whether you’re a beginner or an experienced user, this guide will walk you through the process of installing Linux in Windows step-by-step. By the end of this article, you’ll have a functional Linux operating system ready to use.
Why Install Linux in Windows?
Linux is known for its security, flexibility, and open-source nature. It offers a wide range of distributions, such as Ubuntu, Fedora, and Debian, to cater to various user needs. By installing Linux in Windows, you can:
- Dual-boot your system: Run both operating systems on the same computer and switch between them as needed.
- Explore new software: Linux has its own ecosystem of applications and tools.
- Boost performance: Linux is lightweight and can rejuvenate older systems.
- Learn something new: For tech enthusiasts, Linux offers an opportunity to delve into system customization and open-source development.
Prerequisites
Before we dive into the steps, here’s what you’ll need:
- A Windows PC: Ensure you have enough disk space for Linux installation.
- A USB drive (at least 8GB): This will be used to create a bootable Linux installer.
- A Linux ISO file: Download the desired Linux distribution from its official website.
- A tool to create bootable USB drives: Tools like Rufus or Etcher are ideal.
- Backup your data: Always back up important files before making major changes to your system.
Steps to Install Linux in Windows
1. Choose a Linux Distribution
The first step is selecting the right Linux distribution. Popular options include:
- Ubuntu: User-friendly and widely supported.
- Fedora: Great for developers and tech enthusiasts.
- Linux Mint: Ideal for Windows users transitioning to Linux.
Visit the official website of your chosen distribution and download the ISO file.
2. Create a Bootable USB Drive
- Insert your USB drive into the Windows PC.
- Download and install a tool like Rufus.
- Open Rufus and select your USB drive.
- Click on “SELECT” and choose the Linux ISO file you downloaded.
- Under “Partition scheme,” select GPT (for UEFI) or MBR (for BIOS).
- Click “START” to create the bootable USB drive.
3. Prepare Your Windows System
- Free up disk space: Open Disk Management (search for “Disk Management” in the Start menu) and shrink a partition to create unallocated space for Linux (at least 20GB is recommended).
- Disable Fast Startup: Go to Control Panel > Power Options > Choose what the power button does > Change settings that are currently unavailable, and uncheck “Turn on fast startup.”
- Backup your data: Ensure all important files are safely stored on an external drive or cloud storage.
4. Boot into the Linux Installer
- Restart your computer and enter the BIOS/UEFI settings (usually by pressing a key like F2, F12, DEL, or ESC during startup).
- Change the boot order to prioritize the USB drive.
- Save changes and restart your computer. It should boot into the Linux installer.
5. Install Linux in Windows
- Select the option to Try Linux or Install Linux from the boot menu.
- Follow the on-screen instructions:
- Choose your language and keyboard layout.
- Connect to a Wi-Fi network if prompted.
- When you reach the partitioning step, choose Install alongside Windows or Something Else to manually partition the disk:
- Allocate space for the root partition (
/), swap space, and optionally a home partition (/home).
- Allocate space for the root partition (
- Proceed with the installation and set up your user credentials.
- Once the installation is complete, restart your computer.
6. Configure the Bootloader
After installation, you’ll see a boot menu (GRUB) when you start your computer. This menu allows you to choose between Linux and Windows. If you don’t see it, you may need to:
- Boot into BIOS/UEFI and ensure the Linux bootloader is prioritized.
- Use a boot repair tool (like Boot-Repair) to fix any issues.
Post-Installation Tips
Update Your System
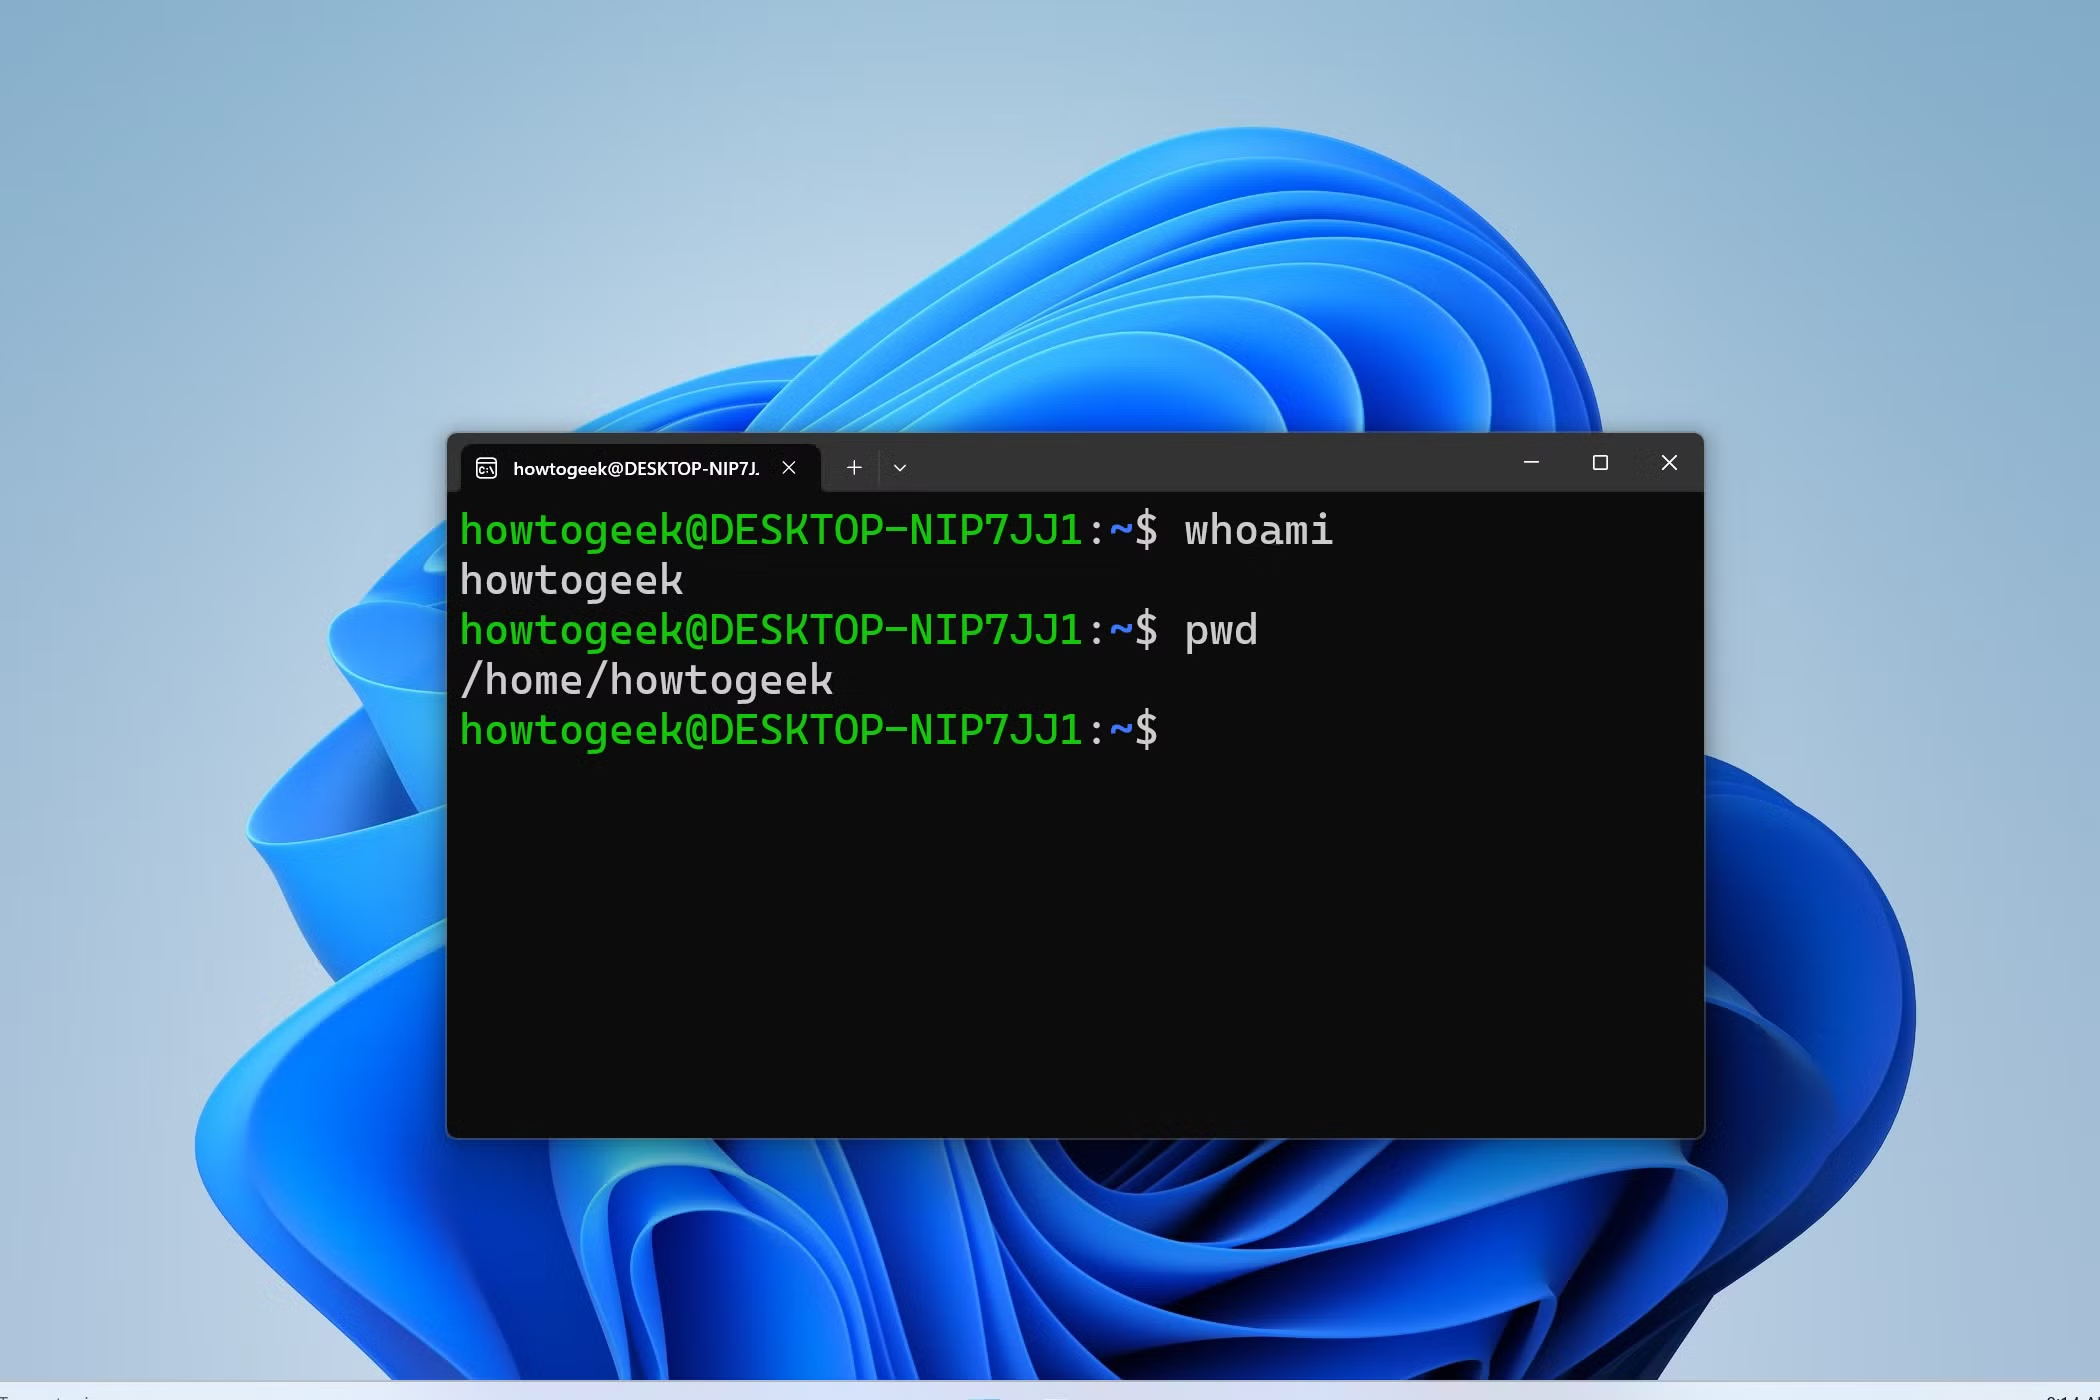
Open the terminal in Linux and run the following commands:
sudo apt update
sudo apt upgrade
Replace apt with your package manager if you’re not using a Debian-based distribution.
Install Additional Software
Explore the Linux software repositories for essential applications like:
- VLC Media Player
- LibreOffice
- GIMP
- Visual Studio Code
Learn Basic Linux Commands
Familiarize yourself with basic commands to navigate and manage your system. For example:
ls: List files and directories.cd: Change directory.sudo: Execute commands with administrative privileges.
Troubleshoot Common Issues
- No boot menu: Use the BIOS/UEFI settings to prioritize the Linux bootloader.
- Wi-Fi not working: Install additional drivers using the terminal.
- System crashes: Check compatibility and update your kernel.
Benefits of Installing Linux in Windows
By installing Linux in Windows, you’re not only gaining access to a robust and secure operating system but also diversifying your computing environment. You can:
- Experiment with different distributions.
- Use Linux for development tasks while retaining Windows for gaming or proprietary software.
- Explore advanced features like virtual desktops, shell scripting, and server hosting.
Conclusion
Installing Linux in Windows is a rewarding experience that opens up a world of possibilities. By following this step-by-step guide, you can seamlessly dual-boot both operating systems and enjoy the best of both worlds. Whether you’re a tech enthusiast, developer, or just curious about Linux, this setup provides a flexible and secure computing environment.
So, why wait? Download your preferred Linux distribution today and get started with installing Linux in Windows!


