James Oliver possesses a Bachelor's degree in Journalism with a minor in Computer Studies from New York University and has 11 years of experience in tech reporting, with past positions at Wired and The Verge covering Microsoft ecosystems. He excels in Windows customization, ecosystem news, and user experience analysis, and was honored with the Best Tech Blogger Award in 2018 by the Online Journalists Association. His hobbies involve collecting vintage computers and practicing guitar in his home studio. As the Managing Editor at Windows 7 Theme, James coordinates author contributions, fact-checks articles, and drives initiatives to expand the site's reach through partnerships and social media.
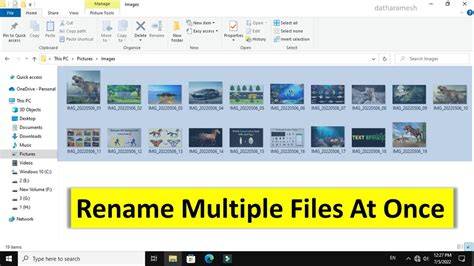
Bulk rename files in Windows easily! Learn how to rename multiple files at once using File Explorer, powerful PowerShell commands, or free tools like PowerRename.
Learn how to make text bigger on your Windows laptop screen. Our simple guide covers changing text size, display scaling, and using the Magnifier tool.
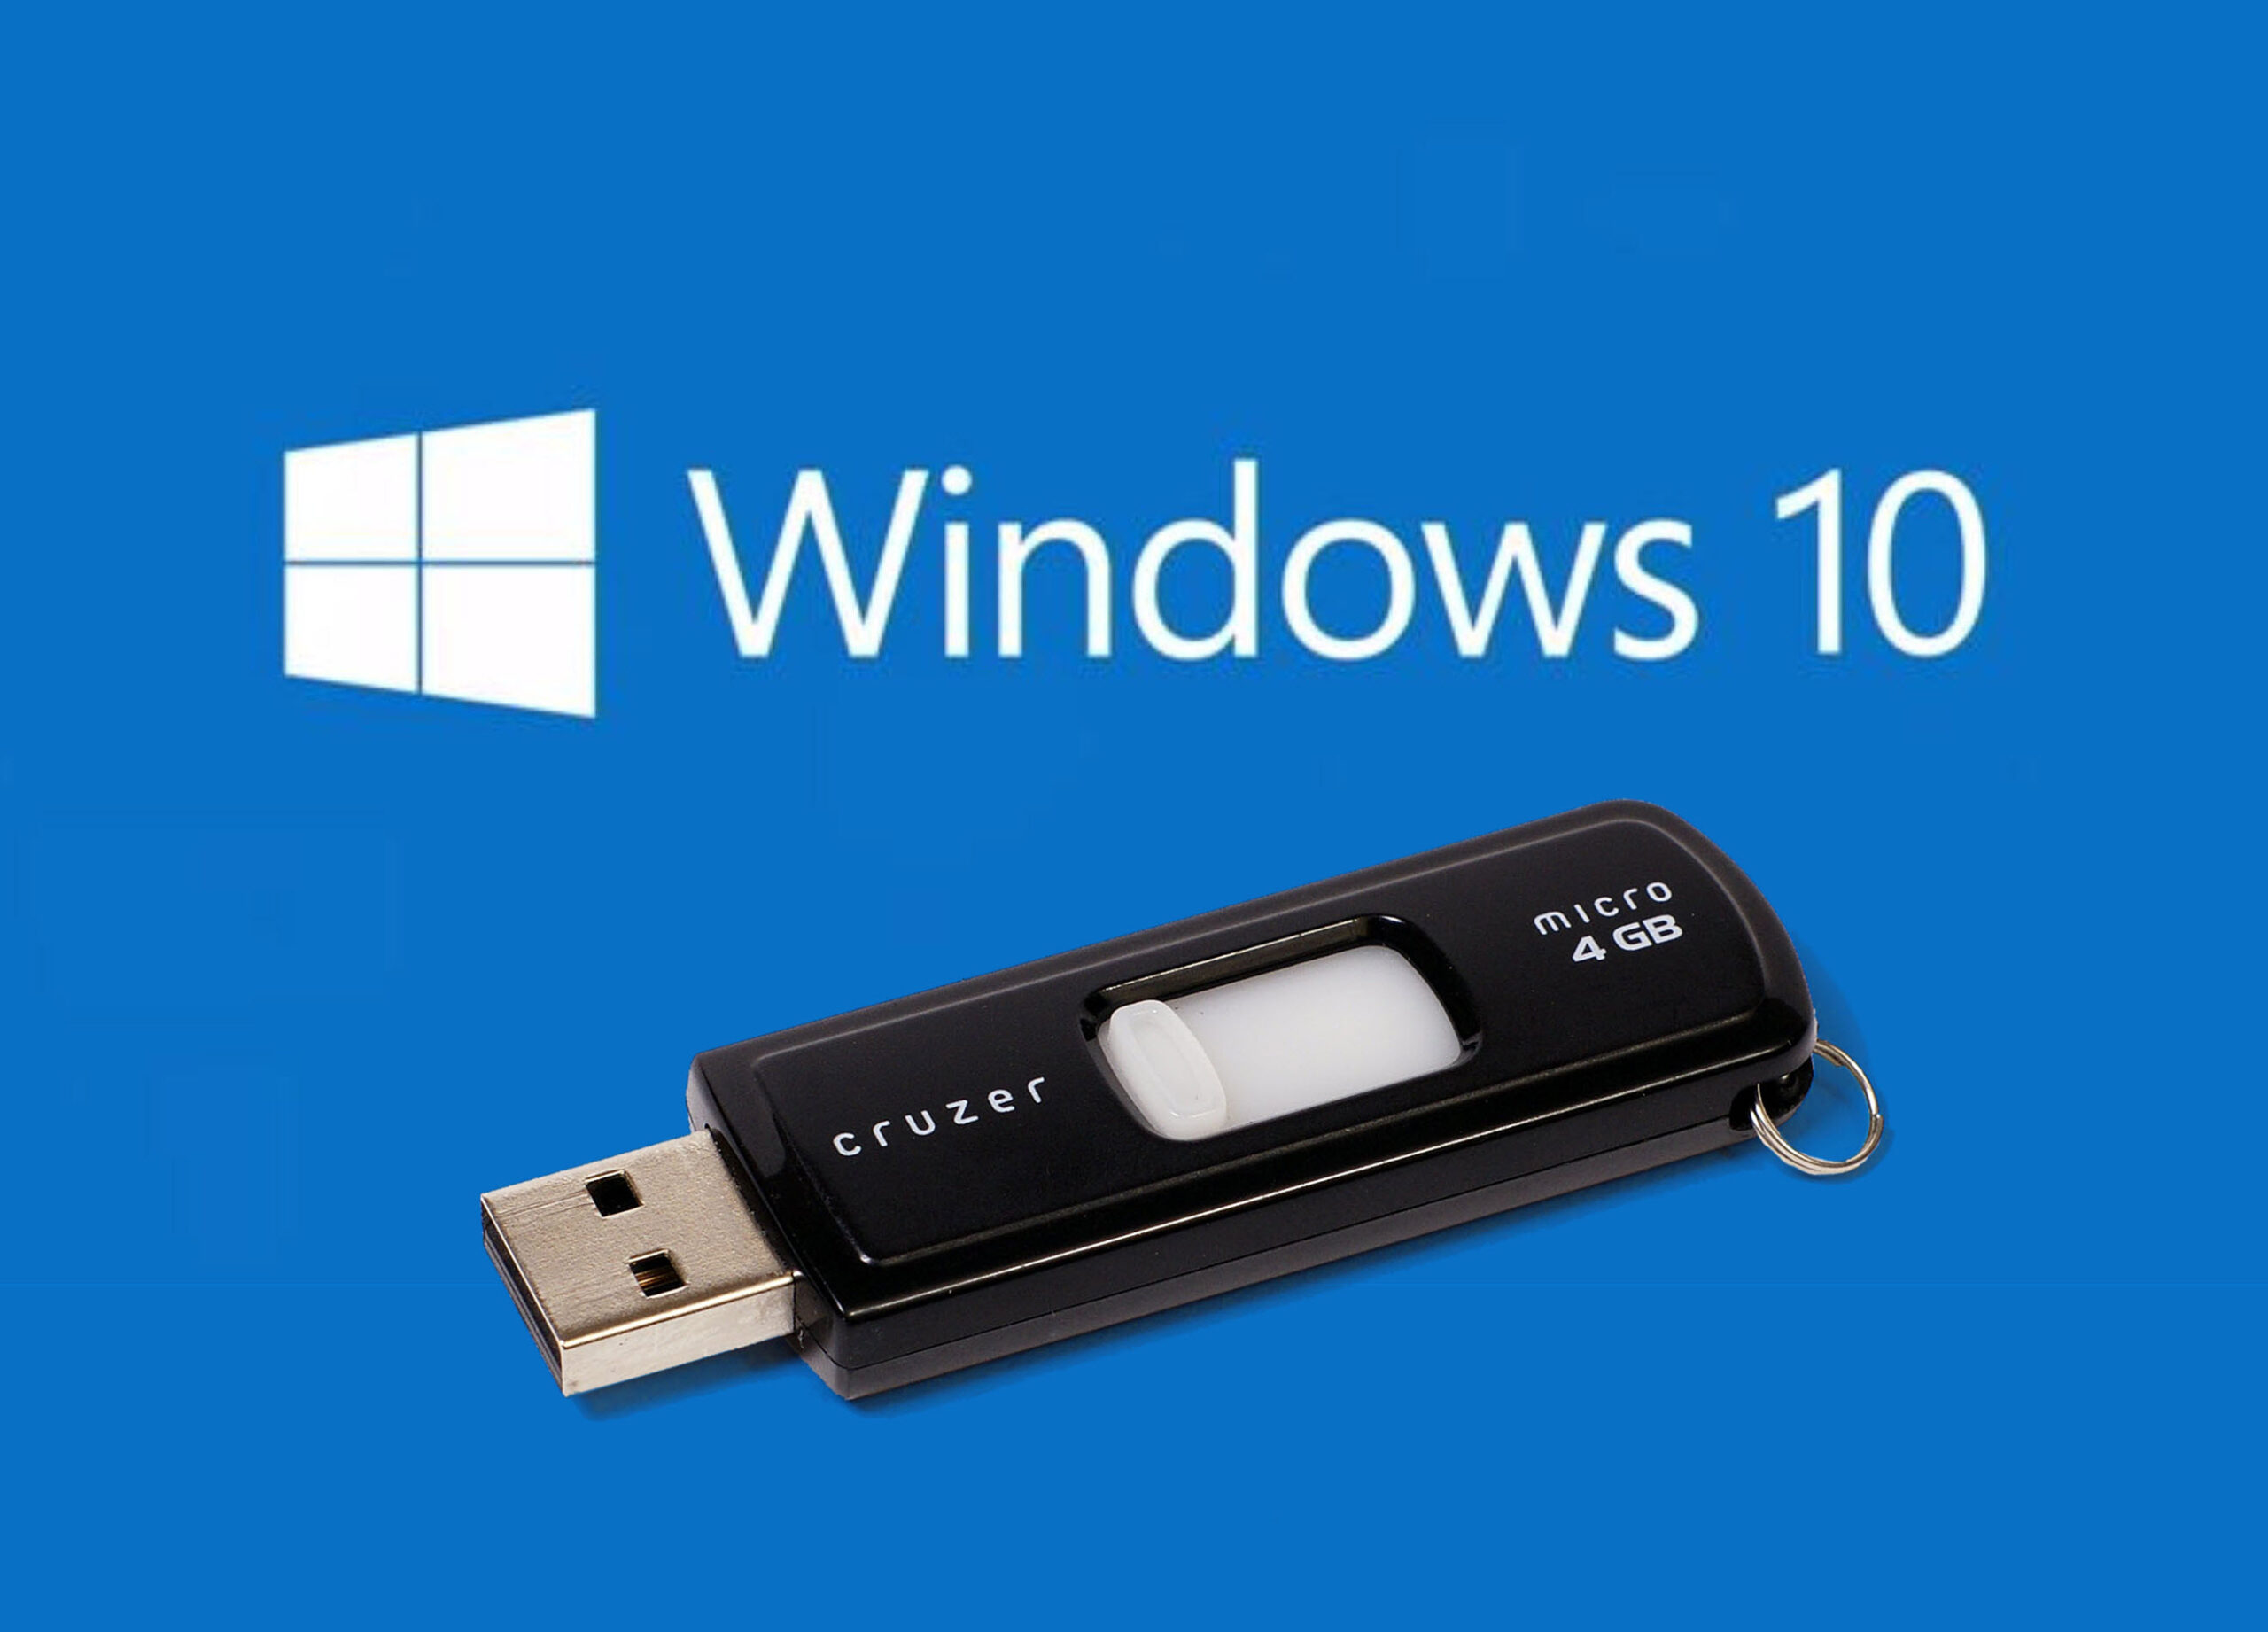
Creating a bootable USB for Windows installation in April 2025 is a simple process using the official Microsoft Media Creation Tool. By following these detailed steps, you can easily create reliable installation media for Windows 10 or Windows 11, allowing you to install, upgrade, or troubleshoot your Windows operating system.
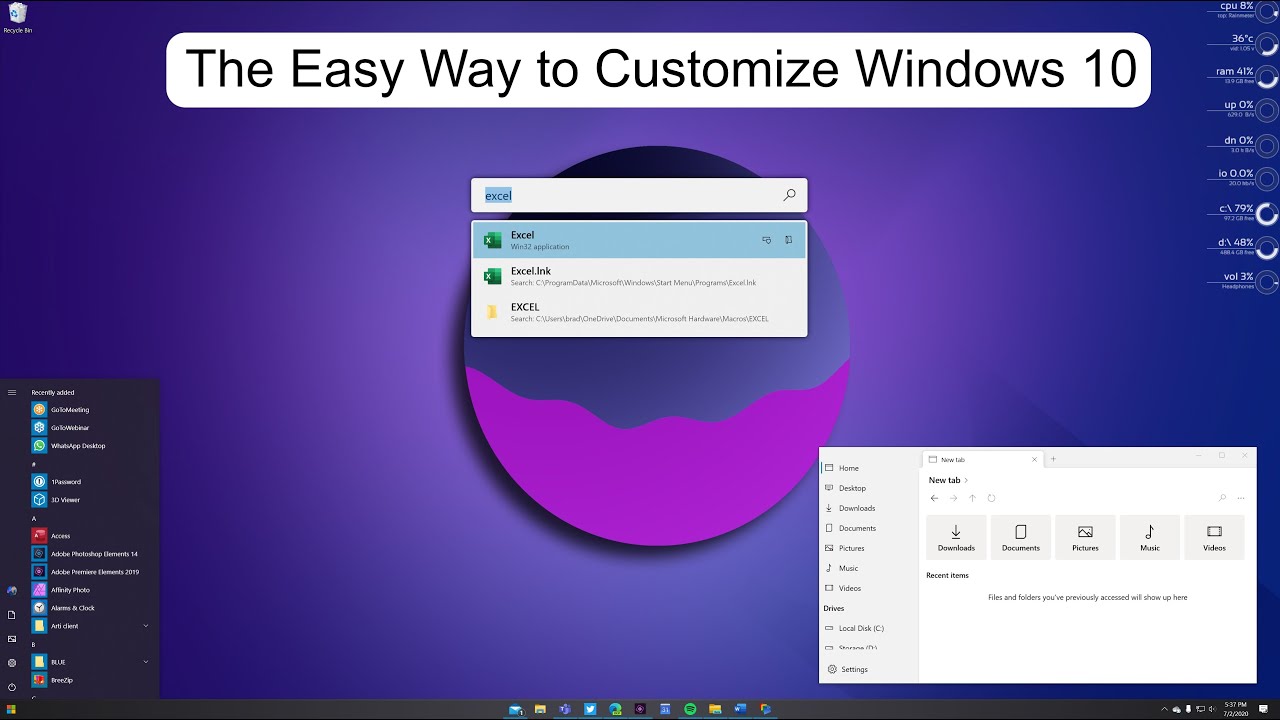
Customizing the Taskbar in Windows 10 in April 2025 is a straightforward process that allows you to personalize your computing experience for greater efficiency and convenience. By following these steps, you can tailor your Taskbar to perfectly match your individual needs and workflow.
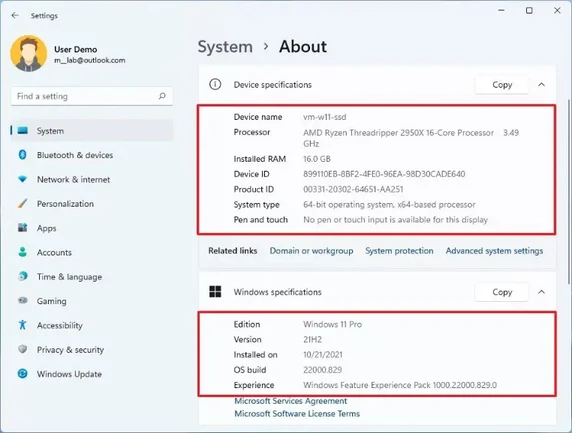
Checking your computer's specifications on Windows or Mac in April 2025 is a straightforward process that provides valuable information about your system's hardware and software. By following these steps, you can easily access the details you need for various purposes.
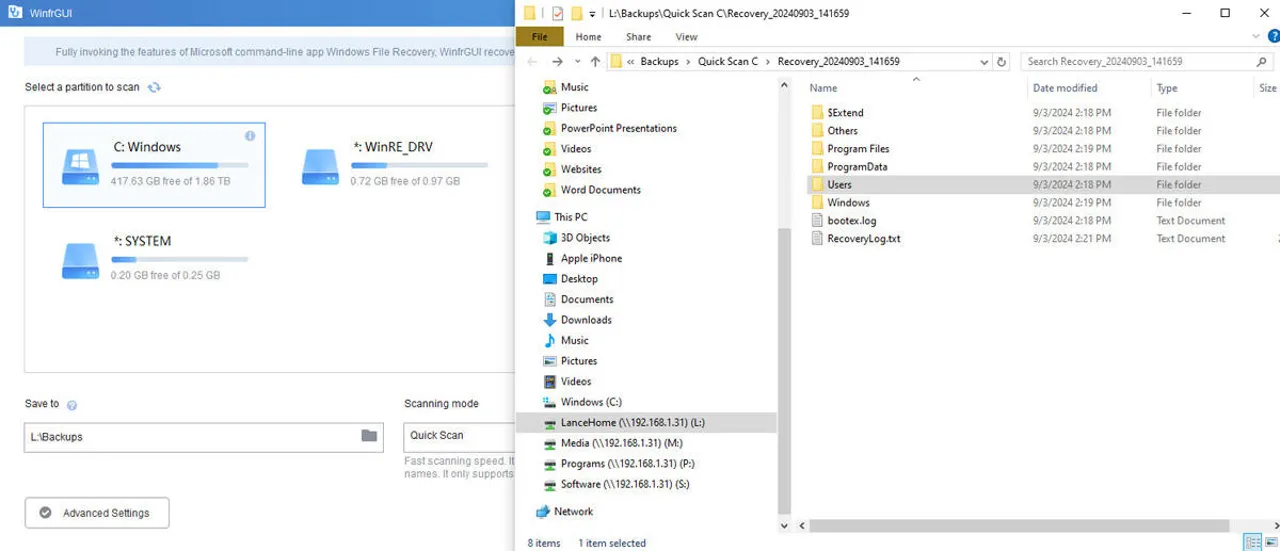
Recovering lost files on a Windows computer in April 2025 is possible, but it's not always successful. By following these steps and acting promptly, you can increase your chances of retrieving your valuable data. However, remember that prevention through regular backups is always the most reliable solution.