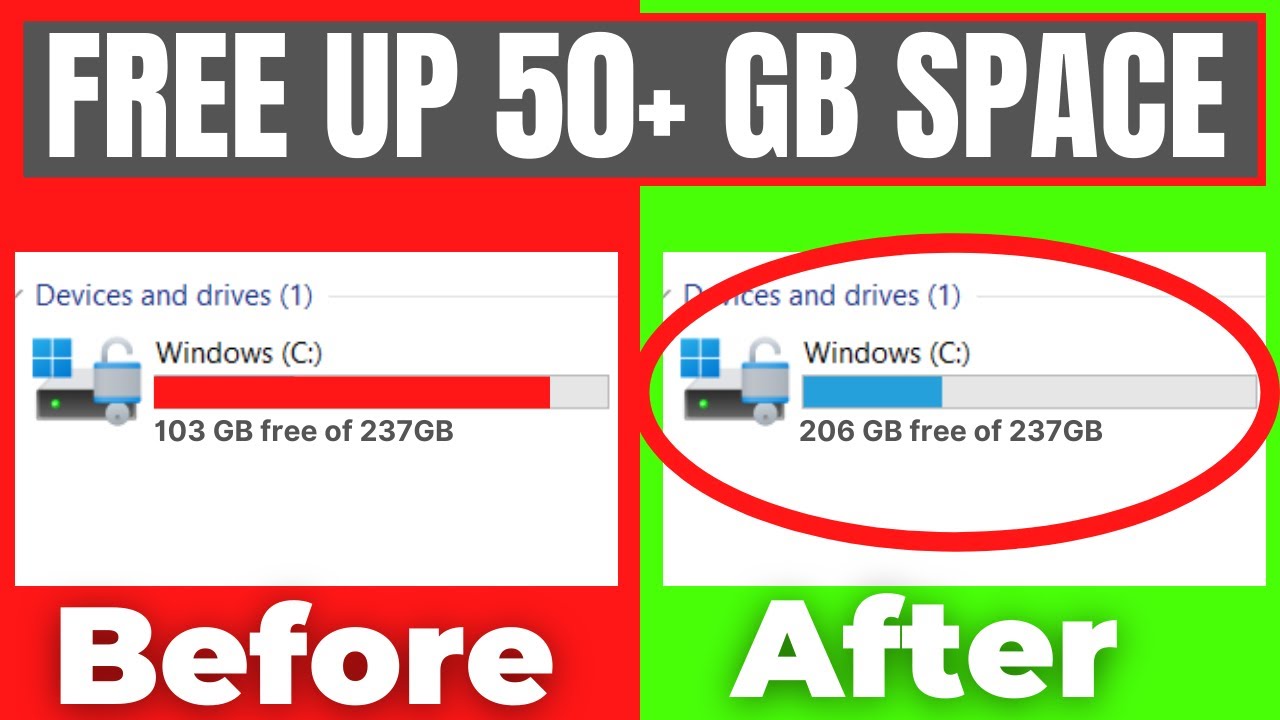
Is your Windows PC running slow, displaying “low disk space” warnings, or struggling to install new updates? A cluttered hard drive is a common culprit. While many third-party tools promise to clean your system, Windows itself offers powerful built-in features that allow you to free up disk space in Windows without relying on any external software. This guide will walk you through these effective, native methods to reclaim valuable storage and improve your computer’s performance.
Why Free Up Disk Space?
- Improved Performance: Sufficient free space allows your operating system to work more efficiently, especially for temporary files and virtual memory.
- System Updates: Many Windows updates require a significant amount of free space to install.
- Prevent Crashes: Running out of disk space can lead to system instability and application crashes.
- Install New Software/Games: More space means more room for new applications and digital content.
- Faster Operations: Reading and writing data on a nearly full drive can be slower.
Essential Preparations
Before you start deleting, it’s wise to:
- Understand Your Usage: Get a general idea of what’s taking up the most space.
- Windows 11: Go to Settings > System > Storage. This provides a visual breakdown of your disk usage.
- Windows 10: Go to Settings > System > Storage. Similarly, it shows categories of data.
- Identify Irreplaceable Files: Ensure any personal documents, photos, or videos you might consider deleting are backed up to an external drive or cloud storage if they are important.
Method 1: Using Disk Cleanup (The Classic Workhorse)
Disk Cleanup is a long-standing Windows utility that helps you remove various types of unnecessary files.
Step-by-Step:
- Open Disk Cleanup:
- Press Win + R, type cleanmgr, and press Enter.
- Alternatively, open File Explorer, right-click on your C: drive (or the drive you want to clean), select “Properties,” then click the “Disk Cleanup” button.
- Select Drive: If prompted, select the drive you wish to clean (usually C:).
- Initial Scan: Disk Cleanup will perform an initial scan and show you a list of file categories you can delete (e.g., Temporary Internet Files, Recycle Bin, Temporary files).
- Clean Up System Files (Crucial Step): To get the most out of Disk Cleanup, click the “Clean up system files” button. This will restart the scan but include more options like:
- Windows Update Cleanup: Removes old Windows update files. This can often free up many gigabytes.
- Previous Windows installation(s): If you’ve upgraded Windows, the old version might still be there. (Be cautious with this if you think you might need to revert.)
- Windows upgrade log files.
- Device driver packages.
- Delivery Optimization Files.
- Select Files to Delete: Review the list of categories. Check the boxes next to the types of files you want to remove. The tool will show you how much space each category occupies.
- Common safe items to check: Temporary Internet Files, DirectX Shader Cache, Delivery Optimization Files, Recycle Bin, Temporary files, Thumbnails, Windows Update Cleanup.
- Confirm Deletion: Click “OK,” then confirm by clicking “Delete Files” when prompted.
- Wait for Completion: Disk Cleanup will now remove the selected files. This might take some time, especially if deleting large Windows Update files.
Method 2: Using Storage Sense (Automated & Modern)
Storage Sense is a feature in Windows 10 and 11 that automatically frees up space by deleting temporary files and managing your Recycle Bin and Downloads folder.
Step-by-Step:
- Open Storage Settings:
- Windows 11: Go to Settings > System > Storage.
- Windows 10: Go to Settings > System > Storage.
- Turn On Storage Sense: Toggle the “Storage Sense” switch to “On.”
- Configure Storage Sense (Optional but Recommended):
- Click on “Storage Sense“ (the text, not the toggle) to enter its settings.
- Under “Run Storage Sense,” choose how often you want it to run (e.g., “Every day,” “Every week,” “Every month,” or “During low free disk space”).
- Under “Temporary Files,” you can choose to automatically clean up your Recycle Bin and Downloads folder after a set number of days.
- Under “User content cleanup,” you can configure options for OneDrive.
- Run Storage Sense Manually (Instant Cleanup):
- Even if Storage Sense is off, you can run it manually.
- In the Storage settings screen (from step 1), under “Storage Sense,” click “Run Storage Sense now” (Windows 11) or “Free up space now” (Windows 10).
- This will scan and present a list of temporary files, previous Windows installations, Recycle Bin content, and more.
- Review the items, check the boxes for what you want to delete, and click “Remove files.”
Method 3: Uninstall Unused Programs and Apps
Programs and applications take up significant disk space. Removing those you no longer use is a straightforward way to free up space.
Step-by-Step:
- Open Apps & Features (Windows 11/10):
- Windows 11: Go to Settings > Apps > Installed apps.
- Windows 10: Go to Settings > Apps > Apps & features.
- Alternatively, right-click the Start button and select “Apps and Features.”
- Sort and Filter:
- You can sort the list by “Size (large to small)” to identify the biggest space hogs.
- Filter by drive if you have multiple drives.
- Uninstall Apps:
- Click on the app you want to uninstall.
- Click the “Uninstall” button.
- Follow any on-screen prompts to complete the uninstallation.
- Be careful not to uninstall critical system software or drivers. If you’re unsure, search online before uninstalling.
Method 4: Move Large Files to External Storage or Cloud
For large personal files (photos, videos, large documents, game installations), moving them off your primary drive is very effective.
Step-by-Step:
- Identify Large Files:
- Use File Explorer. You can search for large files by size. For example, search for size:gigantic in the search bar to find files over 128 MB.
- Navigate to common large file locations like your Downloads, Documents, Pictures, and Videos folders.
- Connect External Storage: Plug in an external hard drive, large USB flash drive, or access your cloud storage sync folder.
- Cut and Paste (or Copy and Delete):
- Select the large files or folders you want to move.
- Right-click and select “Cut” (or press Ctrl + X).
- Navigate to your external drive or cloud sync folder.
- Right-click and select “Paste“ (or press Ctrl + V).
- Important: Once the transfer is complete and you’ve verified the files are safely on the external drive/cloud, you can delete them from your internal drive. If you used “Copy,” remember to manually delete the originals.
Method 5: Empty the Recycle Bin
This is a simple but often overlooked step. Files you delete typically go to the Recycle Bin and still consume space until emptied.
Step-by-Step:
- Locate Recycle Bin: Find the Recycle Bin icon on your desktop.
- Open (Optional): Double-click to open it and review its contents if you want to recover anything.
- Empty: Right-click on the Recycle Bin icon and select “Empty Recycle Bin.”
- Confirm: Confirm the deletion when prompted.
Method 6: Delete Temporary Files and Old Downloads Manually
While Disk Cleanup covers many temporary files, you can also check specific locations manually.
Step-by-Step:
- Temporary Files Folder:
- Press Win + R, type %temp%, and press Enter. This opens your user’s temporary files folder.
- Select all files (Ctrl + A) and press Delete. Some files might be in use and cannot be deleted; skip these.
- Repeat this by typing temp in the Run dialog (this opens the system temp folder, often requires administrator privileges).
- Downloads Folder:
- Open File Explorer and go to your Downloads folder (usually found under “This PC” or “Quick Access”).
- This folder often contains large installation files, archived zips, or old documents that are no longer needed.
- Review and delete any unneeded files.
- Browser Cache and Data: Your web browsers can accumulate significant cache data.
- Open your browser (Chrome, Edge, Firefox).
- Go to Settings > Privacy/Security (or similar).
- Look for options to “Clear Browse data,” “Clear cache,” or “Delete temporary internet files.” Select “Cached images and files” and “Cookies and other site data” (this will log you out of websites).
Method 7: Adjust System Restore and Shadow Copy Settings
System Restore points and Shadow Copies (used by System Restore and File History) can consume a lot of disk space.
Step-by-Step:
- Open System Protection:
- Search for “Create a restore point” in the Windows search bar and open it.
- Configure Disk Space Usage:
- In the System Properties window, under the “System Protection” tab, select your C: drive and click “Configure…”
- Under “Disk Space Usage,” adjust the “Max Usage” slider to allocate less space for System Restore points. Reducing this can free up space, but it also means fewer restore points are kept.
- You can also click “Delete” to delete all existing restore points for that drive (except the most recent, if enabled). Caution: This means you cannot revert to a previous state using System Restore if issues arise.
- Click “Apply” and “OK.”
Final Thoughts
Regularly performing these maintenance steps can prevent your Windows drive from becoming excessively cluttered. You don’t need expensive software to keep your system lean and running smoothly. By leveraging Windows’ built-in tools and adopting smart file management habits, you can effectively free up disk space in Windows without software and maintain a healthy, responsive computer.