If your Windows PC is running slower than expected, tweaking how your system manages RAM (Random Access Memory) can help improve performance. Whether you’re a gamer, a content creator, or someone who uses resource-heavy applications, knowing how to optimize RAM usage can make a noticeable difference.
This guide will walk you through how to upgrade or optimize RAM usage settings in Windows 10 and 11, step-by-step, based on actual system configurations, professional advice, and feedback from user communities like Reddit and Quora.
Why Upgrade or Optimize RAM Usage in Windows?
RAM is essential for multitasking. The more RAM your PC has available—and the better it’s managed—the smoother your experience will be. You don’t always have to add new physical RAM to get performance improvements. Adjusting Windows’ RAM usage settings can:
- Improve multitasking.
- Reduce lag in apps and games.
- Prevent crashes due to memory overload.
- Make your system more efficient overall.
🔧 Method 1: Adjust Virtual Memory (Paging File)
Windows uses virtual memory (a paging file on your hard drive) when it runs out of physical RAM. Optimizing this can ease memory pressure.
✅ Steps to Adjust Virtual Memory:
- Open System Properties
- Press Windows + R, type sysdm.cpl, and hit Enter.
- Access Performance Settings
- Under the Advanced tab, click Settings in the Performance section.
- Open Virtual Memory Settings
- Go to the Advanced tab and click Change under Virtual memory.
- Customize Paging File
- Uncheck Automatically manage paging file size.
- Select your system drive (usually C:).
- Choose Custom size, then:
- Initial size: 1.5x your RAM size (in MB).
- Maximum size: 3x your RAM size.
- Apply and Restart
- Click Set, then OK. Restart your PC to apply changes.
🔎 Tip: If you have an SSD, placing the page file on it can speed things up.
🎯 Method 2: Prioritize Important Apps Using Task Manager
Windows lets you set priority levels for running programs. You can allocate more RAM to crucial apps like video editors or games.
✅ How to Set App Priority:
- Open Task Manager
- Press Ctrl + Shift + Esc.
- Go to the Details Tab
- Right-click your taskbar and choose Task Manager if you don’t see tabs.
- Set Priority
- Find the app under the Details tab.
- Right-click it > Set priority > Choose High or Above normal.
- Confirm Your Selection
- Click Change priority when prompted.
⚠️ Don’t use “Realtime” unless you know what you’re doing—it can make your system unstable.
⚙️ Method 3: Enable XMP/DOCP in BIOS to Maximize RAM Speed
If you’ve physically upgraded your RAM, you’ll want to enable XMP (Intel) or DOCP (AMD) to ensure your RAM runs at its full advertised speed.
✅ Steps to Enable XMP/DOCP:
- Enter BIOS/UEFI
- Restart your PC and press the BIOS key during boot (commonly Del, F2, or F10).
- Find the RAM Settings
- Go to Advanced, Overclocking, or AI Tweaker (depends on your motherboard).
- Enable XMP or DOCP Profile
- Select your memory profile. Save changes and exit.
Check your motherboard manual for exact steps—BIOS interfaces vary.
Method 4: Disable Background Apps and Services
Many apps run in the background and consume RAM. Disabling unnecessary ones can free up memory.
How to Disable Startup Apps:
- Open Task Manager
- Press Ctrl + Shift + Esc.
- Go to the Startup Tab
- See which programs start with Windows.
- Disable Unwanted Apps
- Right-click and choose Disable on anything you don’t use regularly.
Disable Background Apps in Settings:
- Go to Settings > Privacy > Background apps (Windows 10)
- In Windows 11: Settings > Apps > Installed apps.
- Turn Off Apps Running in Background
Disabling Microsoft Edge, Skype, and Xbox services can save memory.
Method 5: Use ReadyBoost (For Older PCs with HDD)
ReadyBoost is a feature that allows you to use a USB flash drive to act like additional memory.
Steps to Use ReadyBoost:
- Insert a USB Flash Drive (at least 4GB, preferably USB 3.0)
- Right-click on the drive in File Explorer > Properties.
- Go to the ReadyBoost Tab
- Select Use this device.
- Allocate space (Windows recommends how much to use).
- Click Apply > OK
Works best on PCs with mechanical HDDs—not SSDs.
Method 6: Clean Up Your RAM With Third-Party Tools
There are lightweight RAM management tools that clean up memory without restarting your PC.
Popular Options:
- Wise Memory Optimizer
- CleanMem
- RAMMap (from Microsoft Sysinternals)
Be cautious when using RAM boosters. Avoid ones that promise too much or come from unknown publishers.
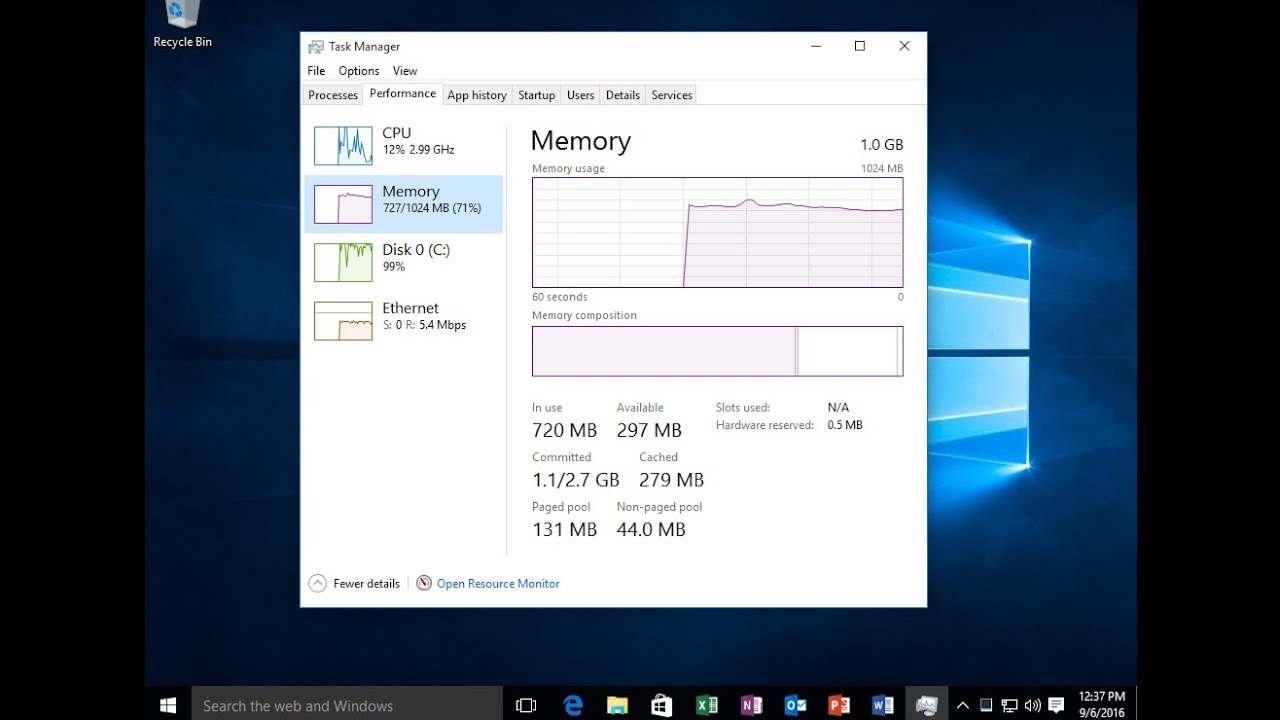
Method 7: Monitor RAM Usage in Real Time
Understanding which processes consume the most memory helps you decide what to tweak or close.
Steps:
- Use Task Manager
- Ctrl + Shift + Esc > Processes tab > Sort by Memory.
- Use Resource Monitor
- Press Win + R, type resmon, hit Enter.
- Go to Memory tab for a detailed breakdown.
Additional Tips to Improve RAM Efficiency
- Keep Windows Updated: Updates often improve memory handling.
- Scan for Malware: Viruses can consume a lot of memory.
- Avoid Chrome Overload: Use fewer tabs or switch to a lightweight browser.
- Add More RAM: Sometimes optimization isn’t enough. Consider a physical upgrade.
My Personal Experience
I used to run video editing software on an 8GB laptop. After optimizing the virtual memory settings and disabling unwanted background apps, things got smoother. But enabling XMP in BIOS made the biggest difference when I upgraded to 16GB RAM. It allowed the memory to run at full speed (3200 MHz), which helped with rendering and multitasking.
Final Thoughts
Learning how to upgrade RAM usage settings in Windows can noticeably boost your PC’s speed without spending money on hardware. Whether you’re adjusting virtual memory, enabling XMP, or managing startup apps, every step helps create a faster and more efficient experience.
Follow these methods based on your system’s needs. And remember—if all else fails, adding more RAM is always the most effective long-term fix.