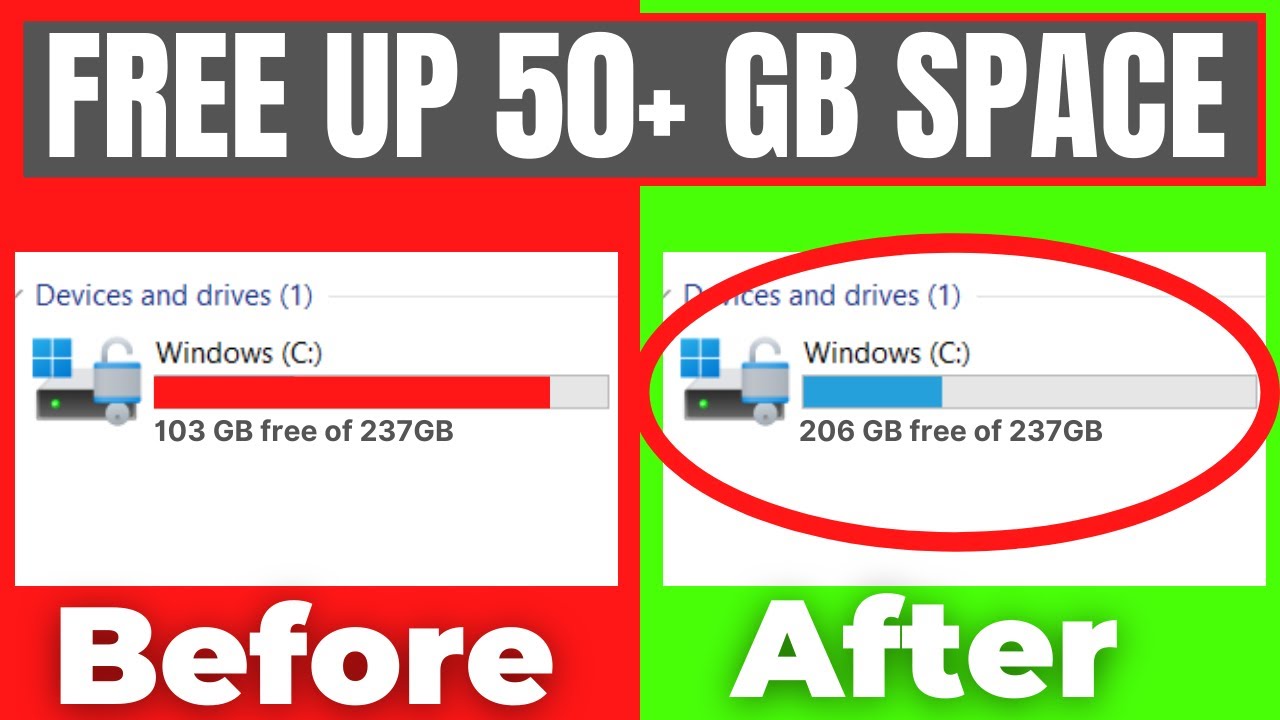
Over time, your Windows laptop can accumulate a significant amount of junk files, including temporary files, cached data, old system logs, and deleted items lingering in your Recycle Bin. These unnecessary files consume valuable storage space and can contribute to slower performance. Regularly cleaning them out is a simple yet effective way to maintain a healthy and efficient system. This guide will walk you through various methods on how to delete junk files from your Windows laptop, using built-in tools and addressing common sources of clutter.
Understanding What “Junk Files” Are
Junk files are temporary or redundant files that are no longer needed by your operating system or applications. They include:
- Temporary Internet Files: Caches from web browsers.
- System Temporary Files: Files created by Windows during operations.
- Delivery Optimization Files: Files used for Windows updates shared across networks.
- Recycle Bin: Deleted files waiting to be permanently removed.
- Thumbnails: Small image previews generated by Windows.
- Log Files: Records of system events and errors.
- Previous Windows Installations: Leftover files after a major Windows upgrade.
Let’s begin the clean-up process.
- Use Disk Cleanup (The Classic Windows Tool)
Disk Cleanup is a venerable Windows utility specifically designed to remove various types of junk files safely.
- Step 1: Open Disk Cleanup.
- Search for “Disk Cleanup” in the Windows search bar (or Start menu).
- Click on the “Disk Cleanup” app from the search results.
- Step 2: Select Drive and Scan.
- A small window will appear, asking you to select the drive you want to clean (usually C: drive). Click “OK.”
- Disk Cleanup will scan your drive for files that can be removed.
- Step 3: Clean Up System Files (Recommended for More Space).
- After the initial scan, click on “Clean up system files” at the bottom left of the Disk Cleanup window. This will rescan, often finding even more categories of junk like previous Windows installations or Windows update files.
- Select the drive again (C: drive) and click “OK.”
- Step 4: Select Files to Delete.
- Review the list of “Files to delete.” Each category will show the amount of space it’s consuming.
- Check the boxes next to the types of files you want to remove. Common safe options include:
- Temporary Internet Files
- Recycle Bin (ensure you don’t need anything in it first)
- Temporary files
- Delivery Optimization Files
- Windows Update Cleanup (if available after system file scan)
- Previous Windows installation(s) (if you recently upgraded Windows)
- You can click on a category to see a description of what it contains.
- Step 5: Confirm Deletion.
- Click “OK” then “Delete files” to confirm. The process may take some time depending on the amount of junk.
- Utilize Storage Sense (Windows 10 & 11’s Modern Approach)
Storage Sense is an automated and more modern way to manage disk space in Windows, allowing you to automatically delete junk files.
- Step 1: Open Storage Settings.
- Click the Start button and open Settings (gear icon).
- Click on “System” (on Windows 11) or “Storage” (on Windows 10).
- Click on “Storage” in the left-hand menu (on Windows 11) or the main window (on Windows 10).
- Step 2: Enable and Configure Storage Sense.
- Toggle “Storage Sense” to “On.”
- Click on “Storage Sense” (the text, not the toggle) to configure its settings.
- Step 3: Customize Cleaning Schedules.
- You can set how often Storage Sense runs: “Every day,” “Every week,” “Every month,” or “When disk space is low.”
- Configure options like:
- “Delete files in my recycle bin if they have been there for over…”
- “Delete files in my Downloads folder if they haven’t been opened for over…” (Be cautious with this; it might delete files you intend to keep long-term).
- “Delete temporary files that my apps aren’t using.” (This is highly recommended).
- Step 4: Run Storage Sense Manually.
- Even with Storage Sense enabled, you can run a manual cleanup.
- In the Storage settings, click “Run Storage Sense now” or “Temporary files” (under Storage usage).
- If you click “Temporary files,” Windows will scan. Select the files you want to remove (similar to Disk Cleanup categories) and click “Remove files.”
- Clear Web Browser Cache and Data
Web browsers accumulate large amounts of cache, cookies, and history. Cleaning these out regularly can free up significant space.
- For Google Chrome:
- Open Chrome. Click the three vertical dots (Menu) in the top-right corner.
- Go to “More tools” > “Clear Browse data.”
- Select a “Time range” (e.g., “All time”).
- Check “Browse history,” “Cookies and other site data,” and “Cached images and files.”
- Click “Clear data.”
- For Microsoft Edge:
- Open Edge. Click the three horizontal dots (Settings and more) in the top-right corner.
- Go to “Settings” > “Privacy, search, and services.”
- Under “Clear Browse data,” click “Choose what to clear.”
- Select a “Time range” and check the relevant boxes (“Cached images and files,” “Cookies and other site data,” etc.).
- Click “Clear now.”
- For Mozilla Firefox:
- Open Firefox. Click the three horizontal lines (Menu) in the top-right corner.
- Go to “History” > “Clear Recent History…”
- Select a “Time range to clear” (e.g., “Everything”).
- Check “Cache” and “Cookies” (and others if desired).
- Click “OK.”
- Empty the Recycle Bin Manually
Files you delete go to the Recycle Bin first, still consuming space.
- Step 1: Locate Recycle Bin.
- Find the “Recycle Bin” icon on your desktop.
- Step 2: Empty It.
- Right-click the “Recycle Bin” icon.
- Select “Empty Recycle Bin.”
- Confirm the action when prompted.
- Delete Temporary Files via the Temp Folder
Windows creates many temporary files that aren’t always cleaned up by Disk Cleanup.
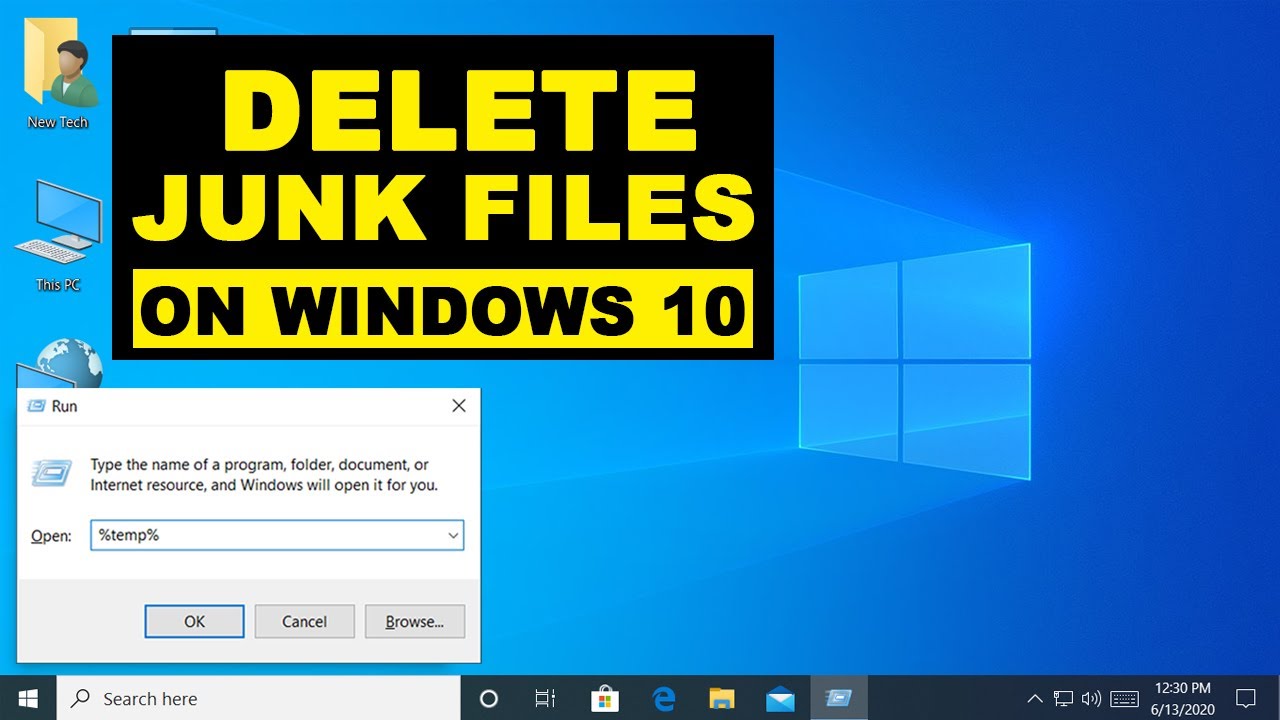
- Step 1: Open Run Dialog.
- Press Windows key + R on your keyboard.
- Step 2: Access Temp Folders.
- Type %temp% and press Enter. This will open your user’s temporary files folder.
- Press Ctrl + A to select all files and folders.
- Press Delete. Skip any files that are currently in use (they will likely be very few).
- Repeat the process, but this time type temp (without percentage signs) in the Run dialog and press Enter. This accesses the system-wide temp folder (requires administrator permission to delete some files).
- Warning: While generally safe, some programs might momentarily use files in these folders. Skipping those in use is fine.
By regularly implementing these methods, you can effectively delete junk files from your Windows laptop, ensuring it remains fast, responsive, and has ample free storage for your important data. A clean system is a happy system!