Elijah Lucas holds a Master's degree in Information Technology from Carnegie Mellon University and brings 10 years of professional experience as a systems administrator and freelance writer for sites like TechRadar and CNET. He specializes in Windows troubleshooting, performance optimization, and hardware compatibility, with recognition from the International Association of IT Professionals for his innovative tutorials in 2021. Personally, Elijah is fond of playing strategy video games and volunteering at local tech workshops. In his position as Senior Editor at Windows 7 Theme, he oversees tutorial development, researches emerging Windows features, and engages with the community to incorporate reader feedback into content.
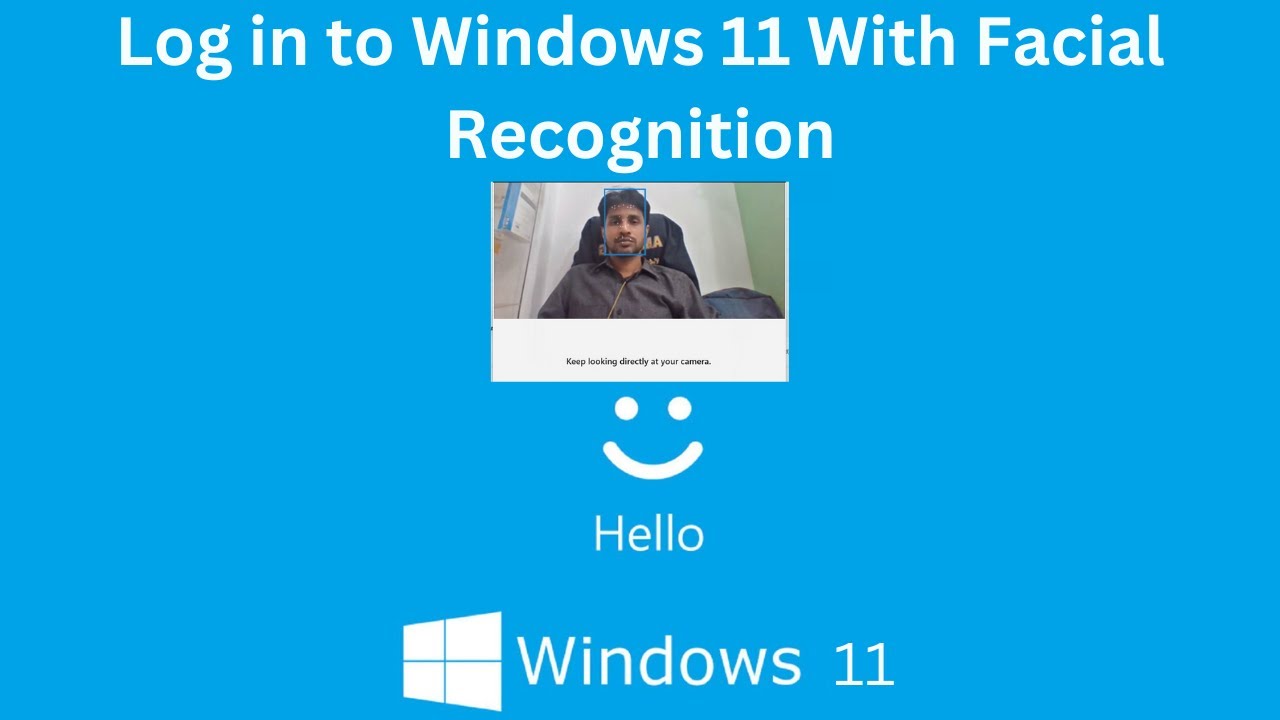
Set up Windows Hello Face Recognition for instant, secure logins on your Windows PC. Learn the step-by-step process, hardware requirements, and troubleshooting tips.
Learn how to automate Windows tasks effortlessly with Task Scheduler. This guide covers creating, managing, and troubleshooting scheduled tasks for peak efficiency.
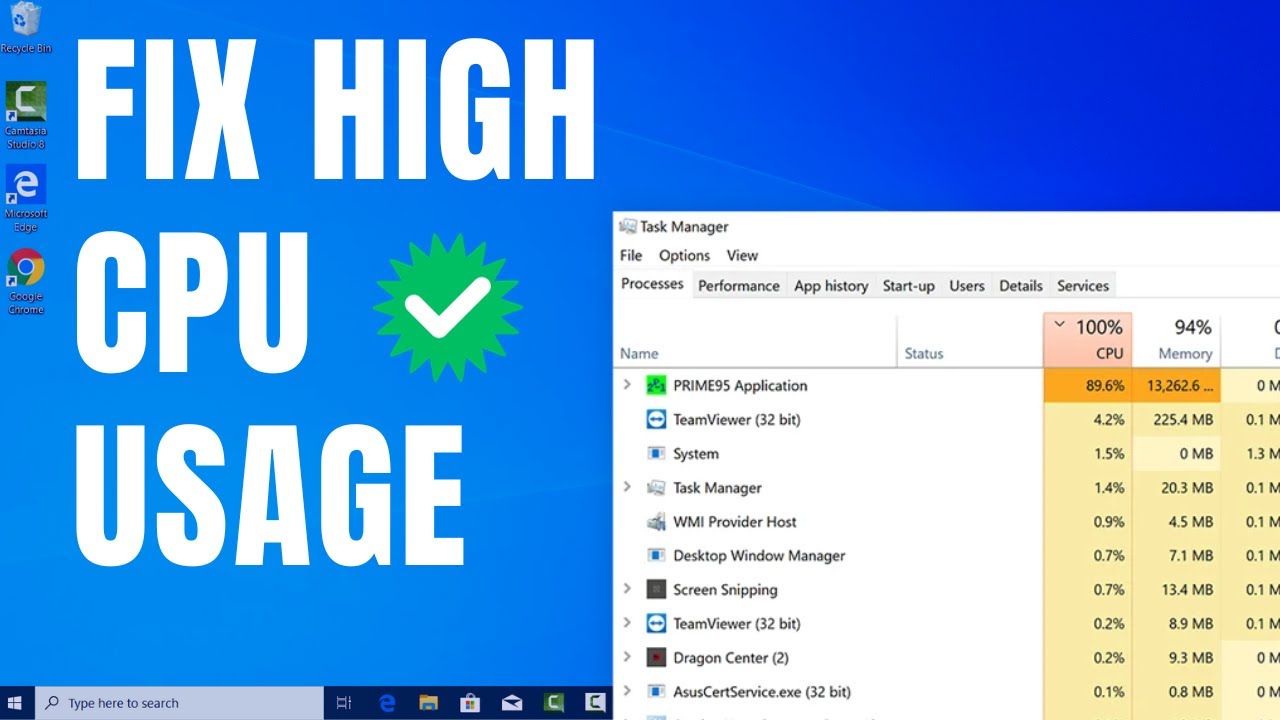
Fix high CPU usage in Windows Task Manager! Learn step-by-step methods to identify culprits, manage processes, update drivers, and optimize settings for better PC performance
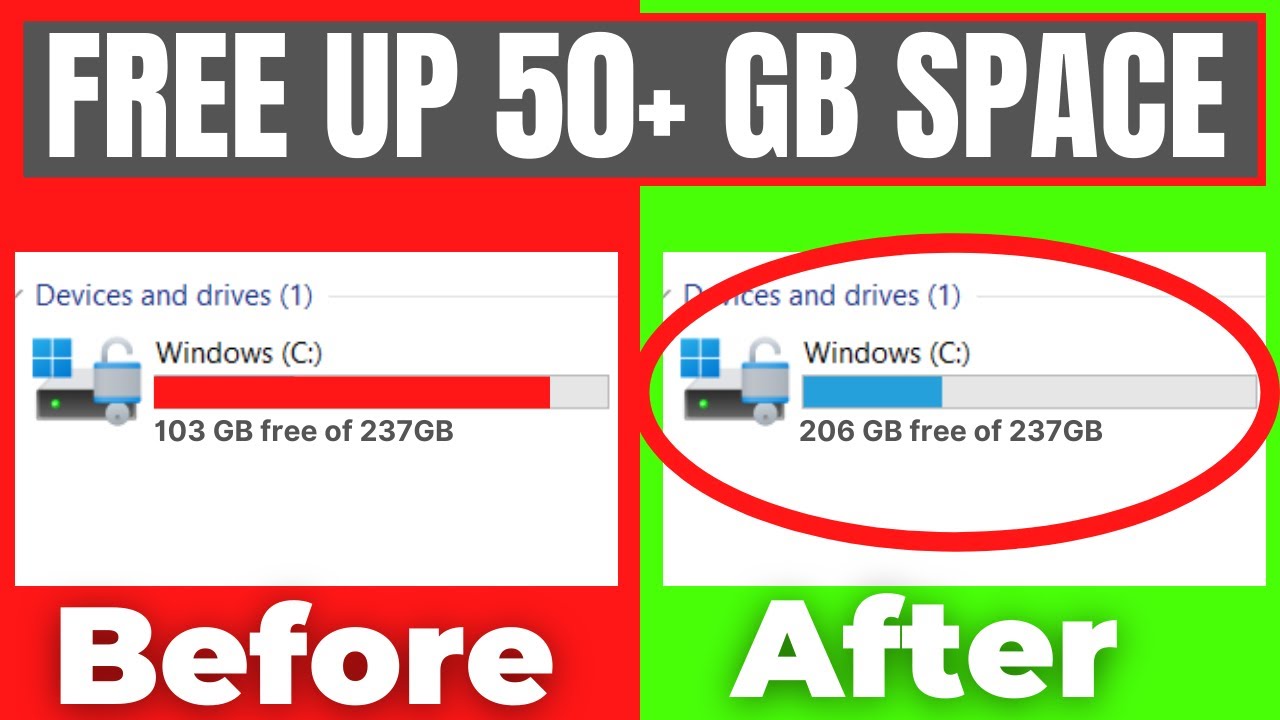
Learn how to free up disk space in Windows 10/11 without extra software using built-in tools like Disk Cleanup, Storage Sense, and manual file management.
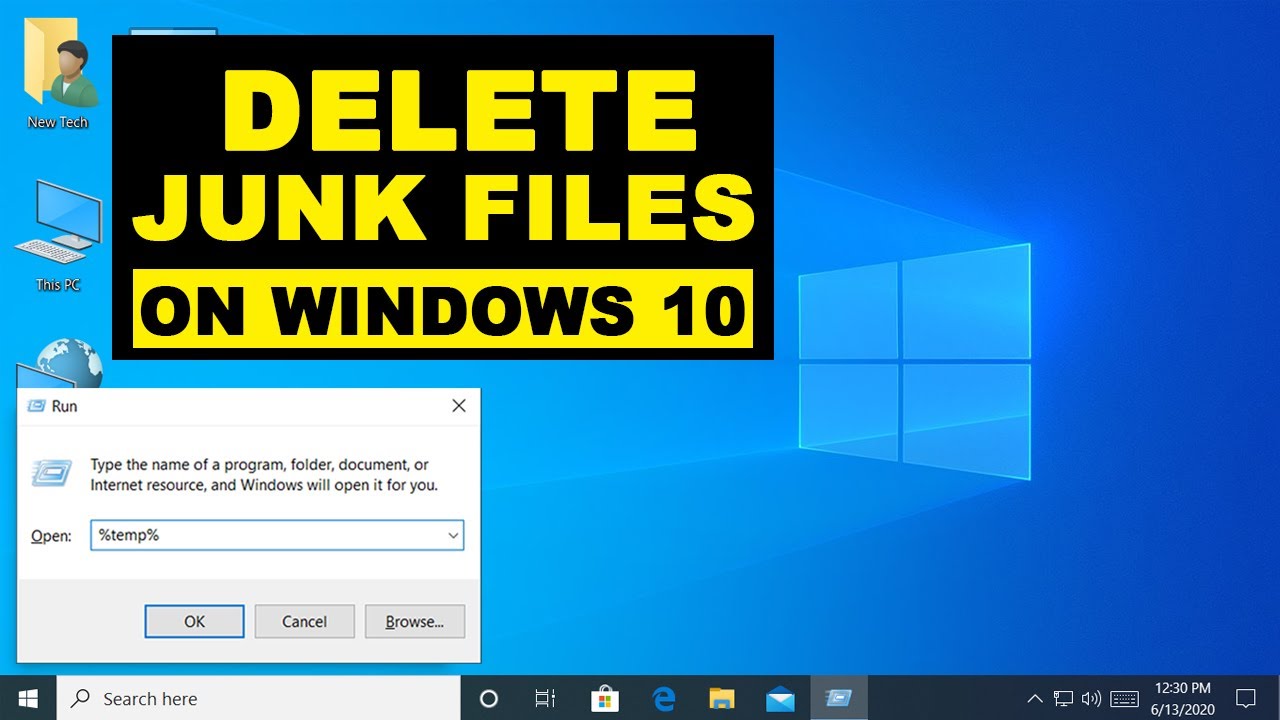
Learn how to delete junk files from your Windows laptop. This guide covers using Disk Cleanup, Storage Sense, clearing browser cache, and other methods to free up space
Recover data from a corrupted hard drive. Learn how to use software tools like CHKDSK, Recuva, and Disk Drill, plus tips for physical damage and professional recovery.